logo

Peaches and peppers and squash… oh my!

“The gardiner is brisk at work. The Peach-Trees are much broken down with the weight of Fruit this Year.”
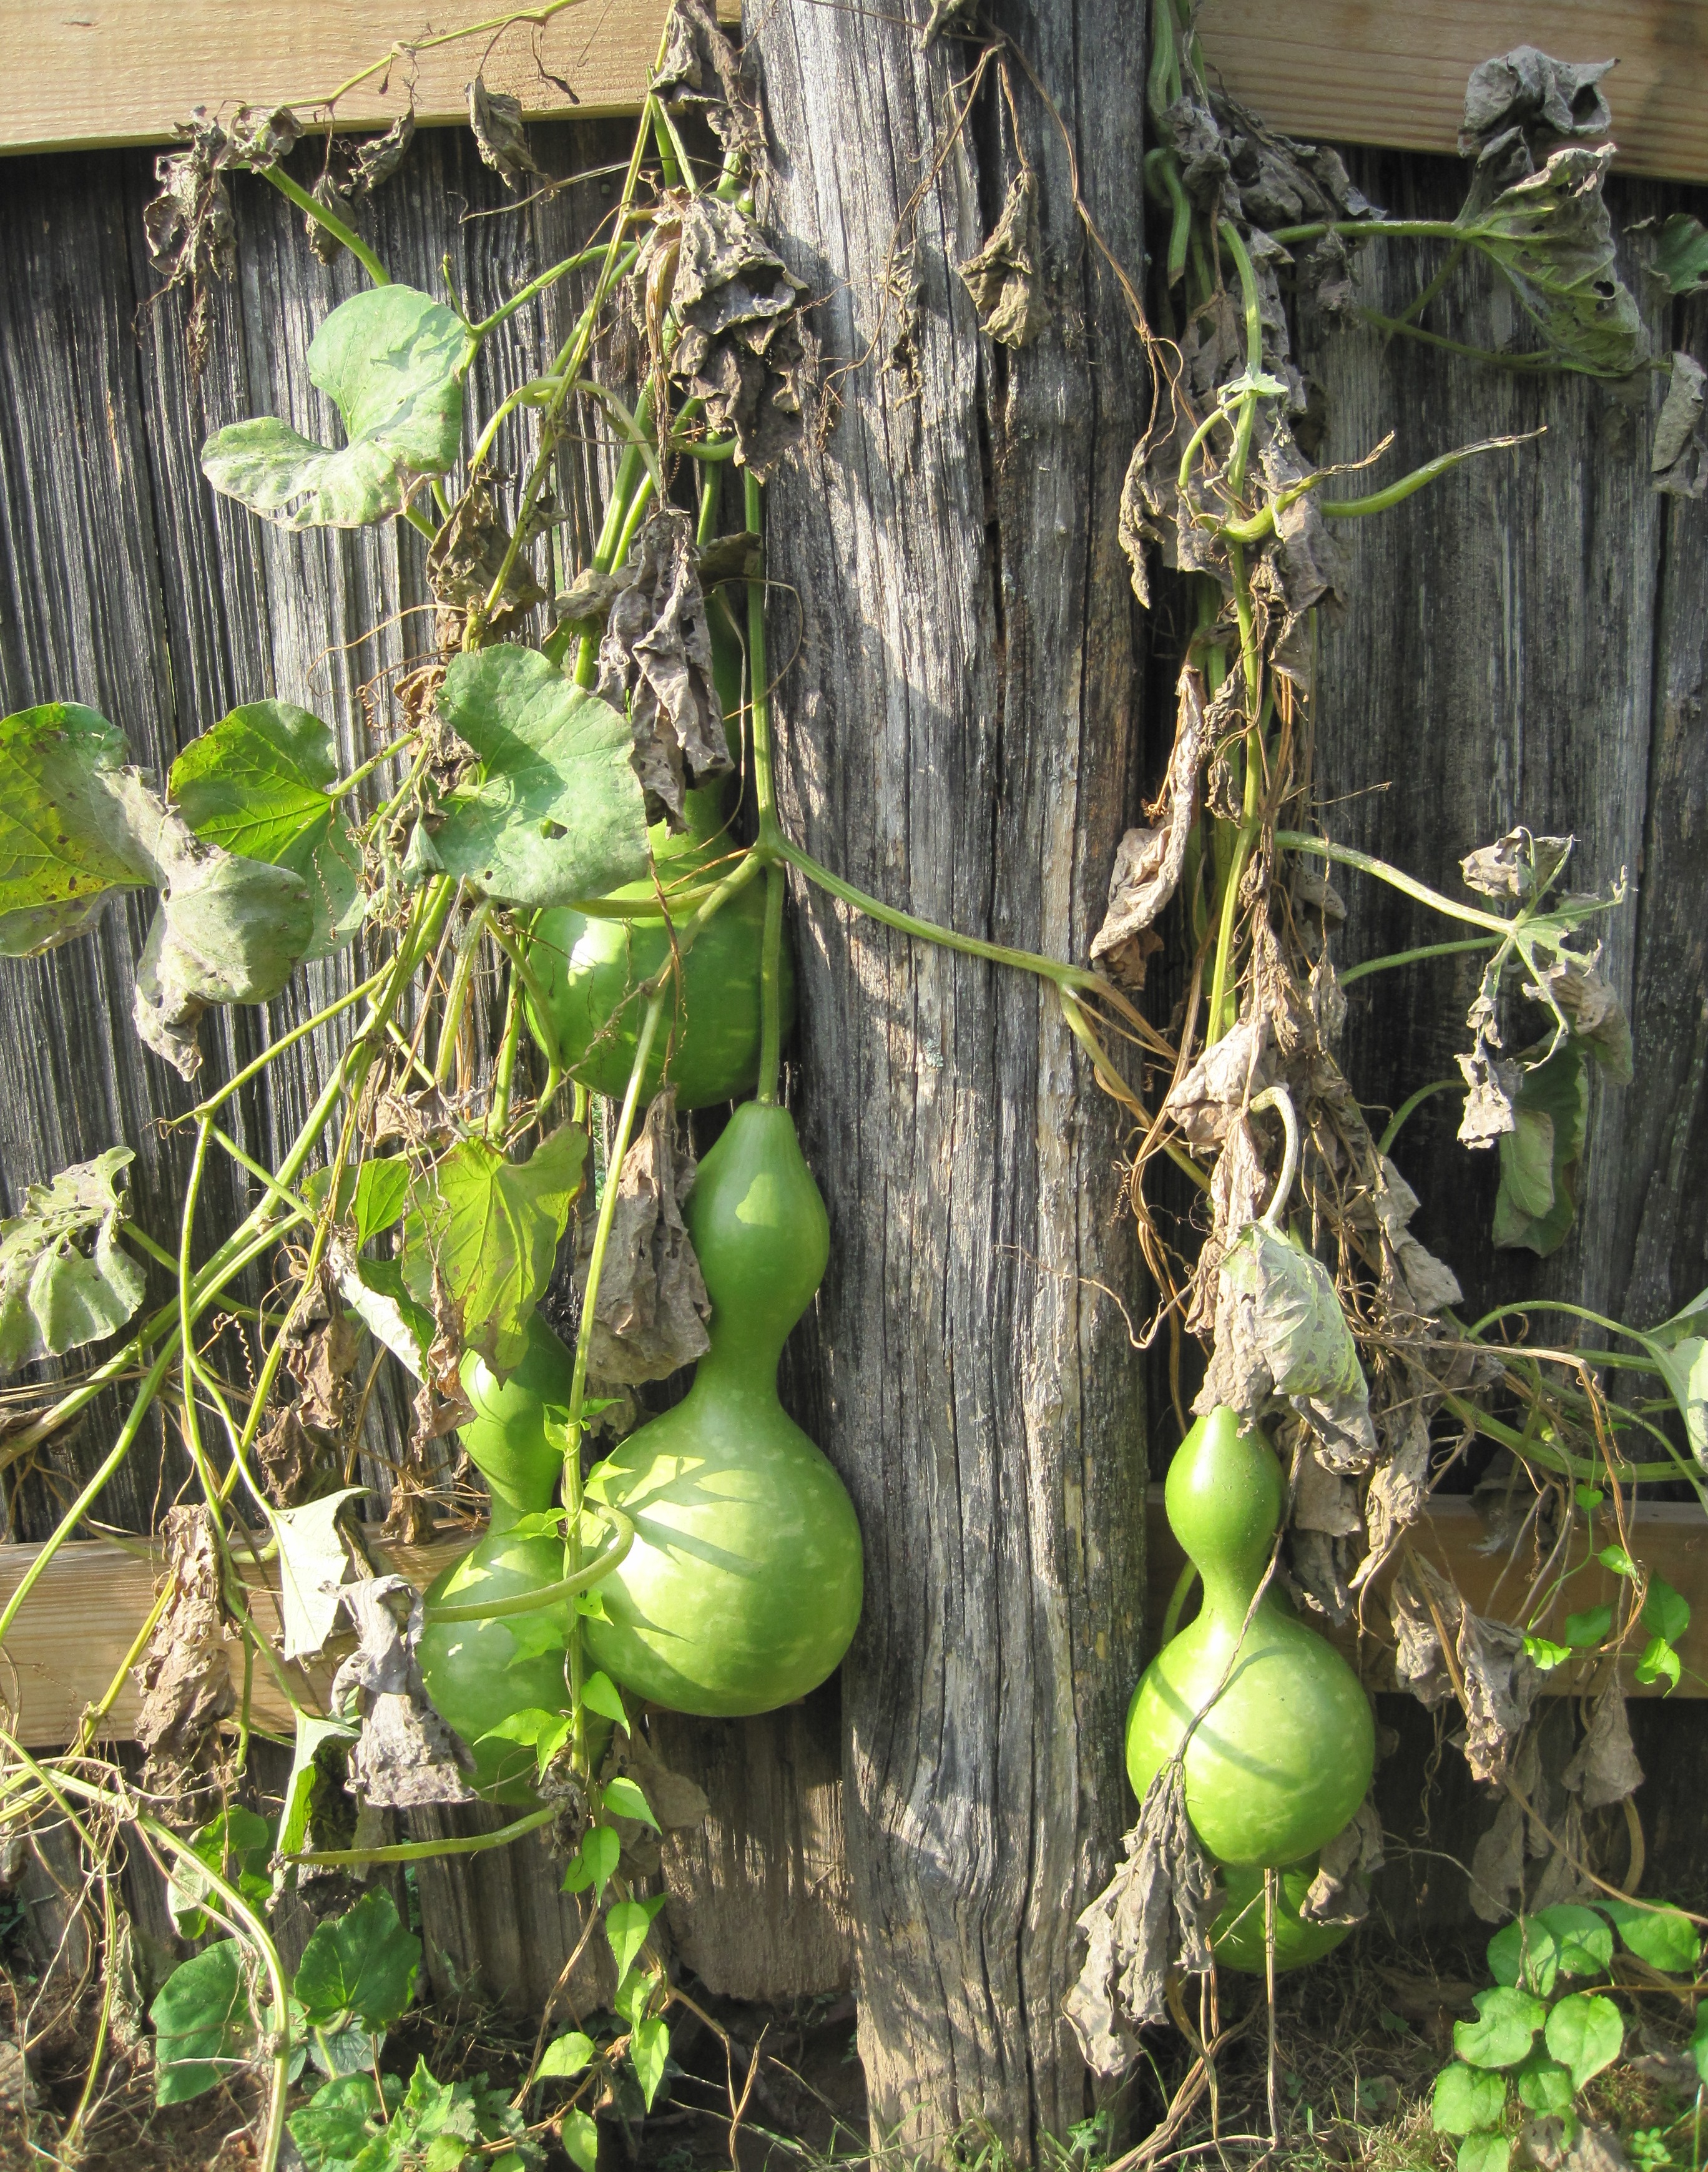
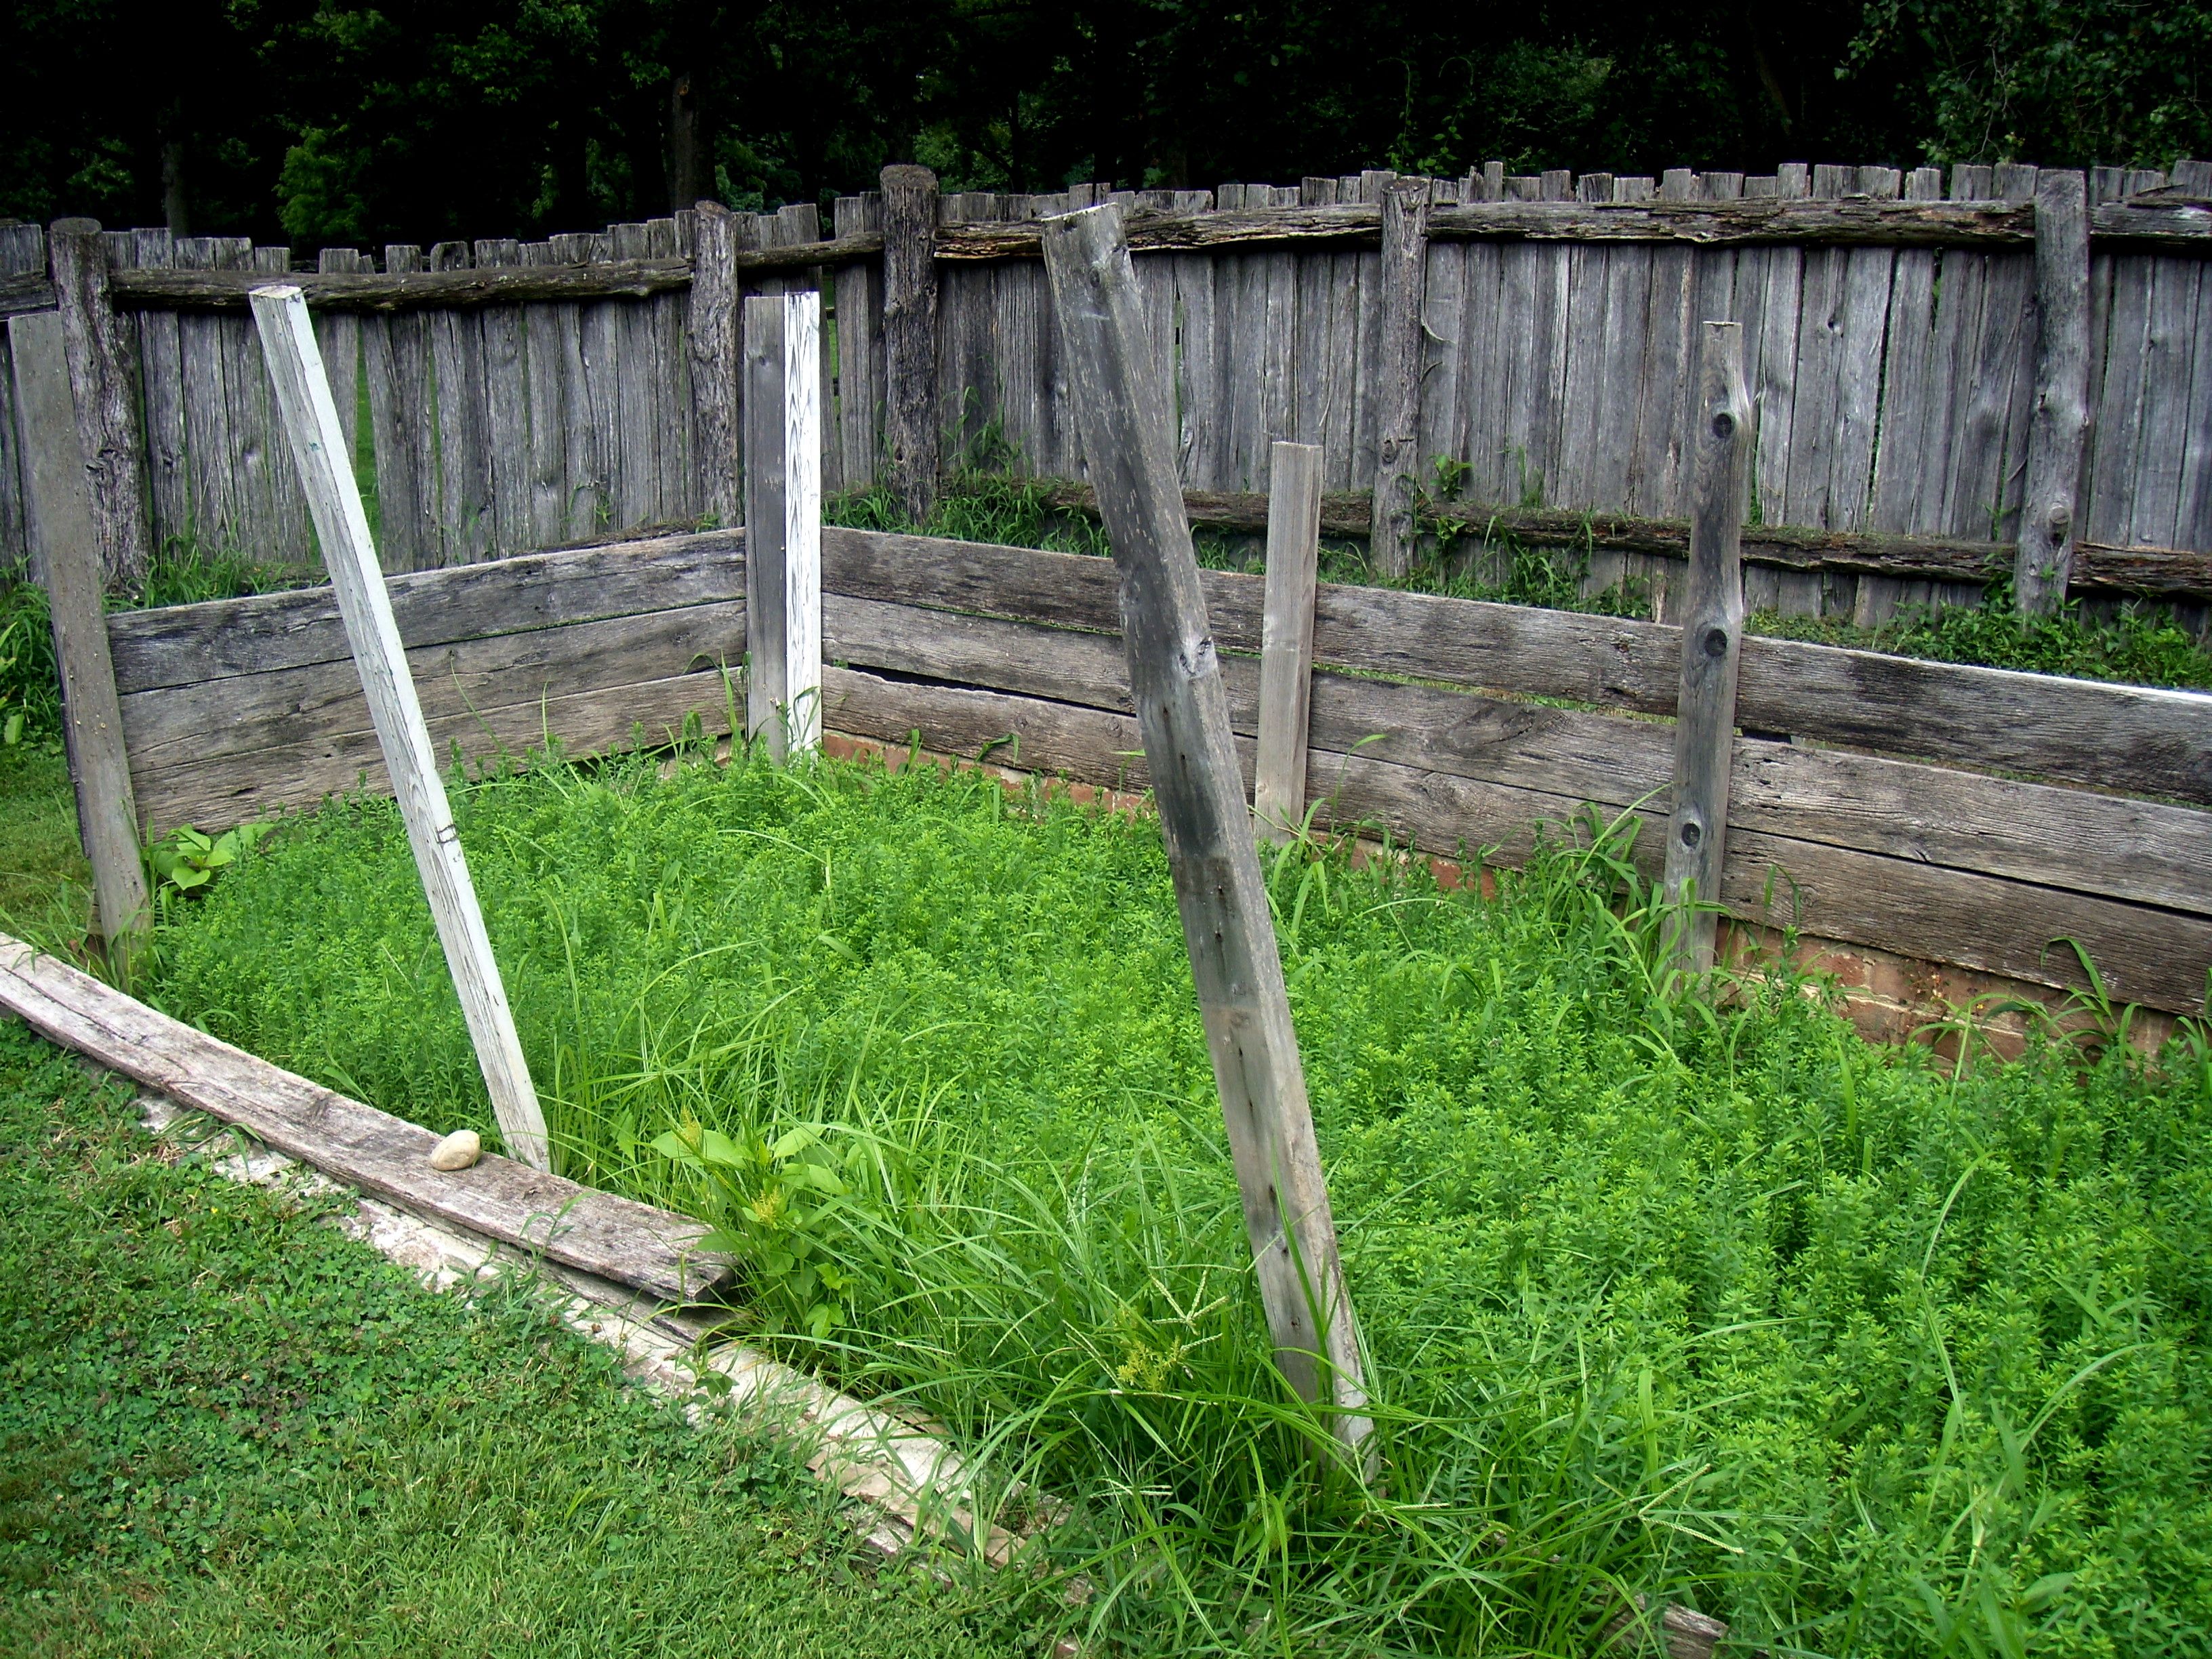
The patched fence provides protection for Pennsbury's crops and a sunny spot to grow.

William Penn’s steward James Harrison reported this good news in October of 1686, but the same could be said of the fall harvest in 2012!  Indian blood peaches, radishes, red and yellow cayenne peppers, squash, gourds, and culinary and medicinal herbs have all thrived this year in Penn’s kitchen garden.

According to Pennsbury’s gardener Mike Johnson, this is due in part to the recent restructuring of the garden’s fences. While Penn’s original garden covered about two acres of his estate, the smaller area has allowed the garden staff to protect the plants from pests and to interpret seventeenth and eighteenth-century garden activities more effectively for visitors.
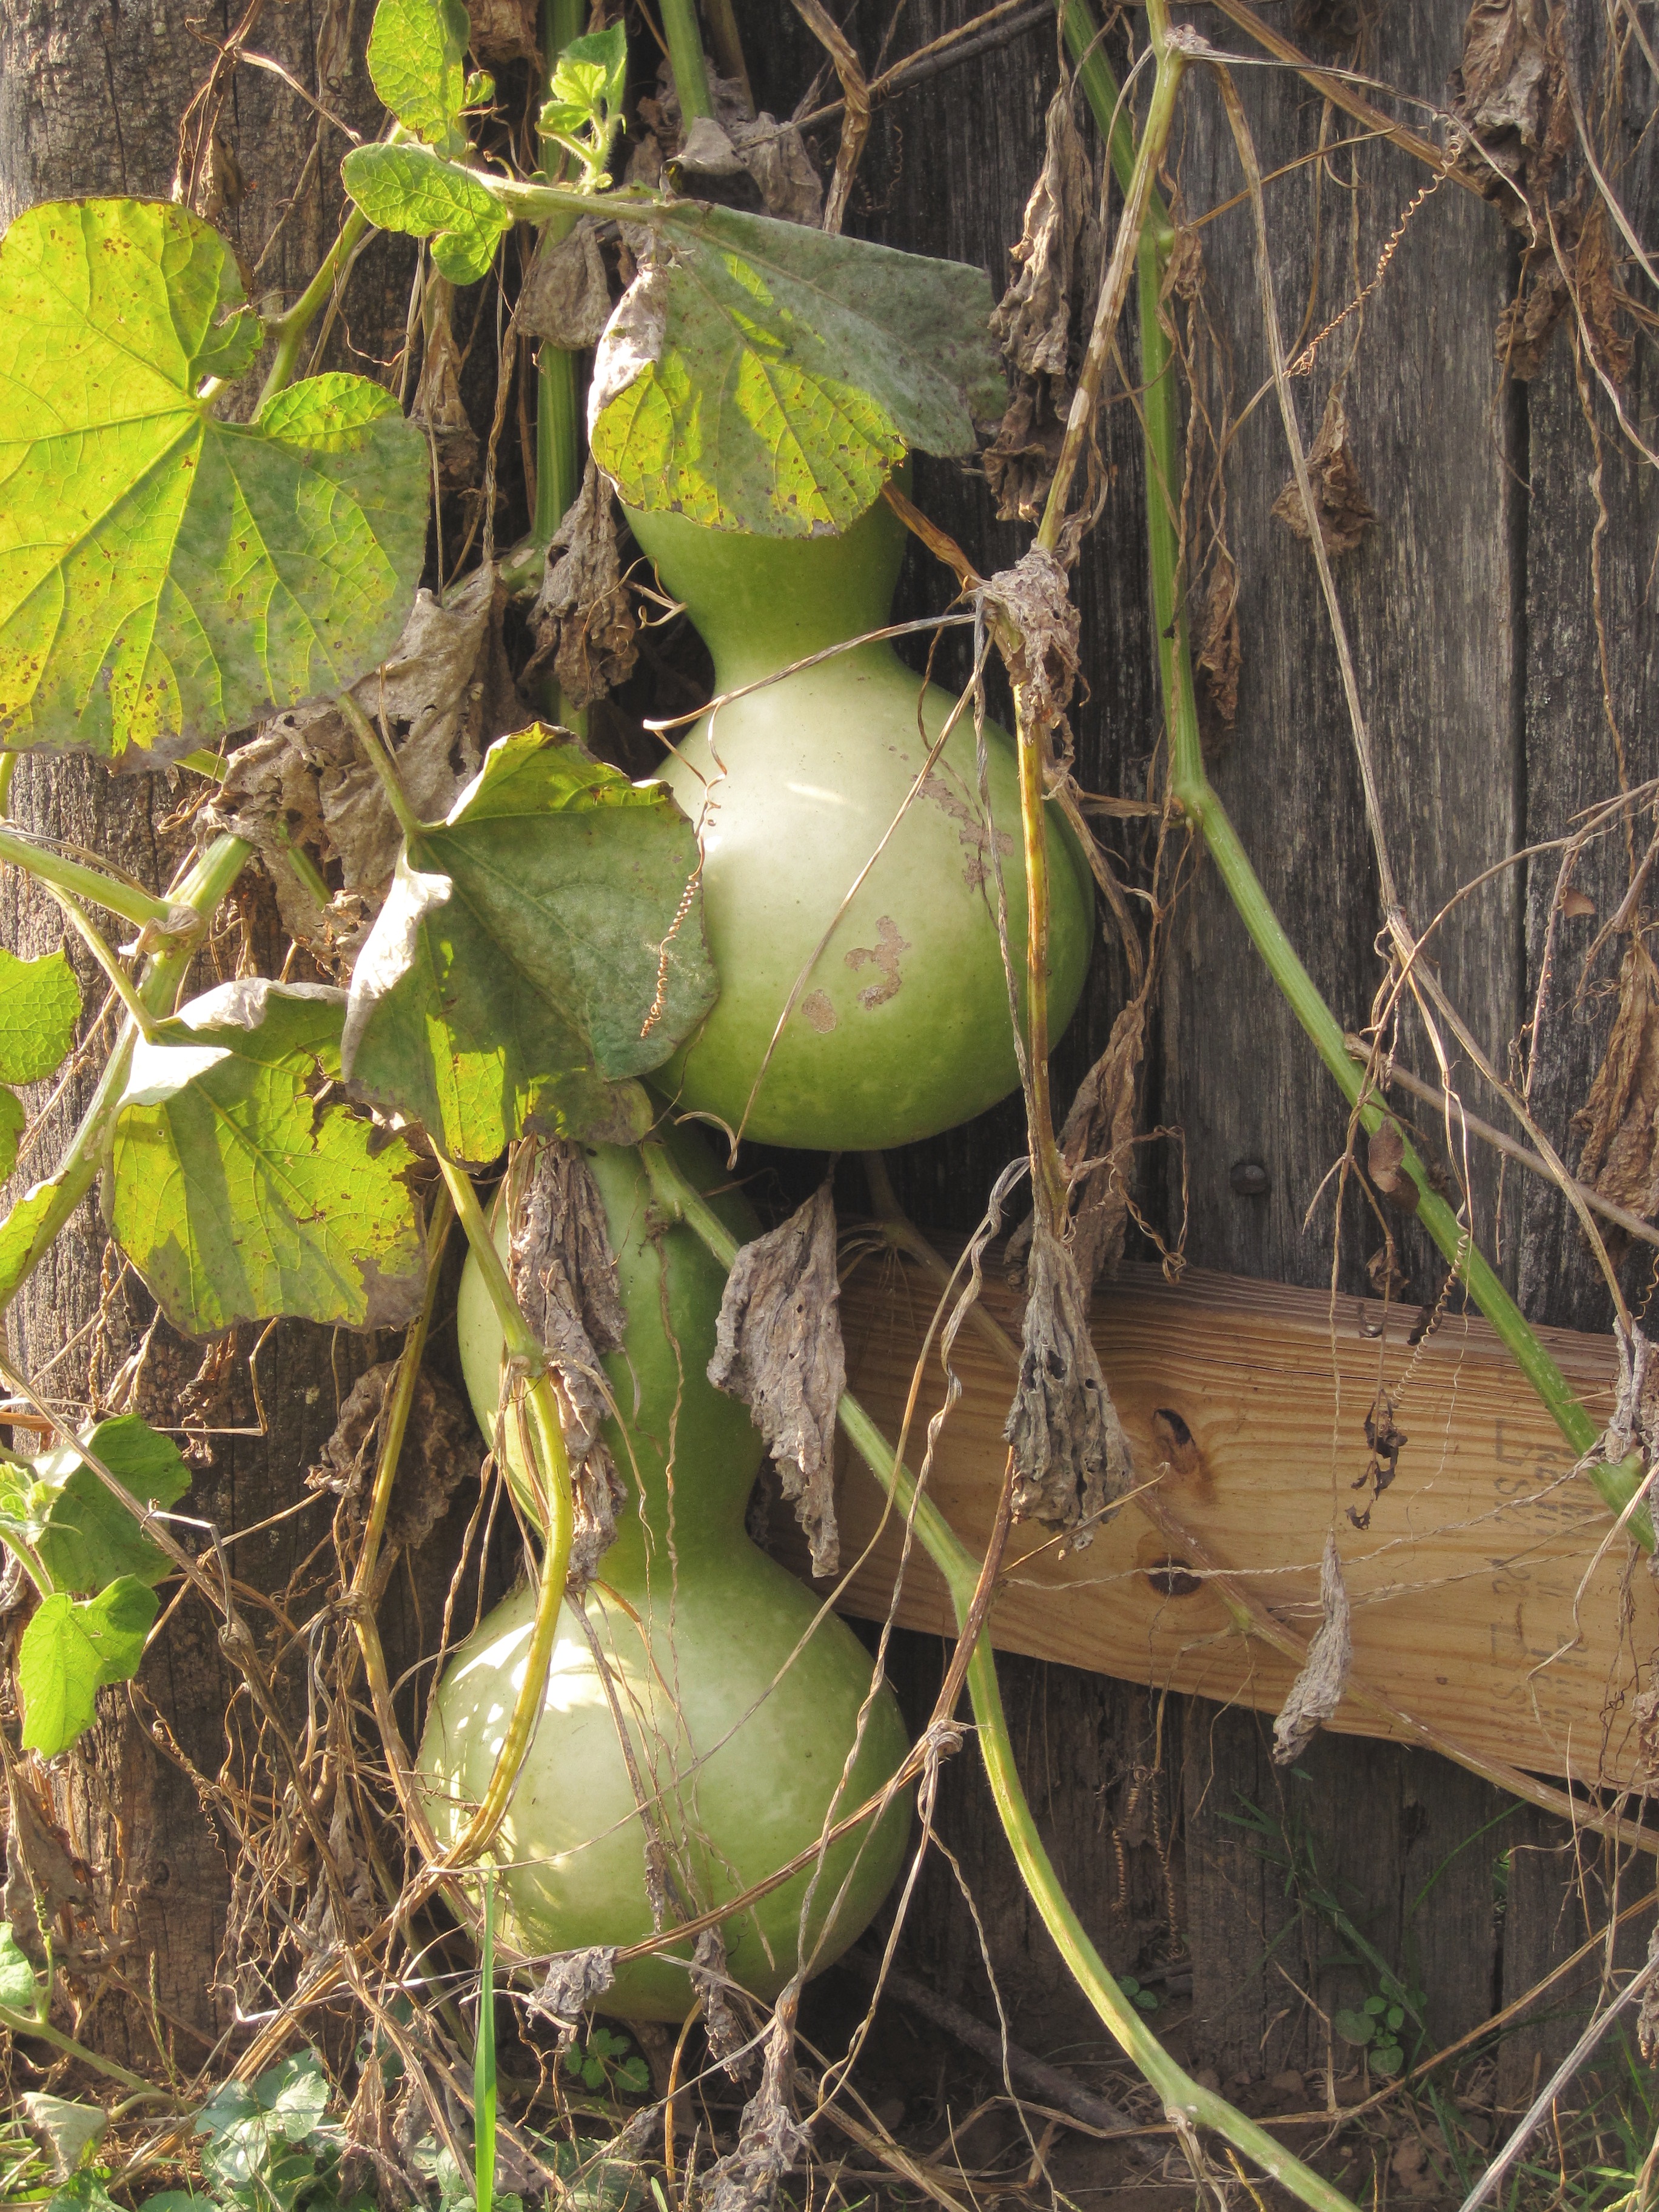
One of the several varieties of gourds currently growing in Pennsbury Manor's 17th-century kitchen garden.

You may be asking yourself, “What happens to all those fruits and vegetables?” Just as in Penn’s time, nothing goes to waste!  Harvested crops will be used in cooking demonstrations, educational programs, and seed-saving for future planting.

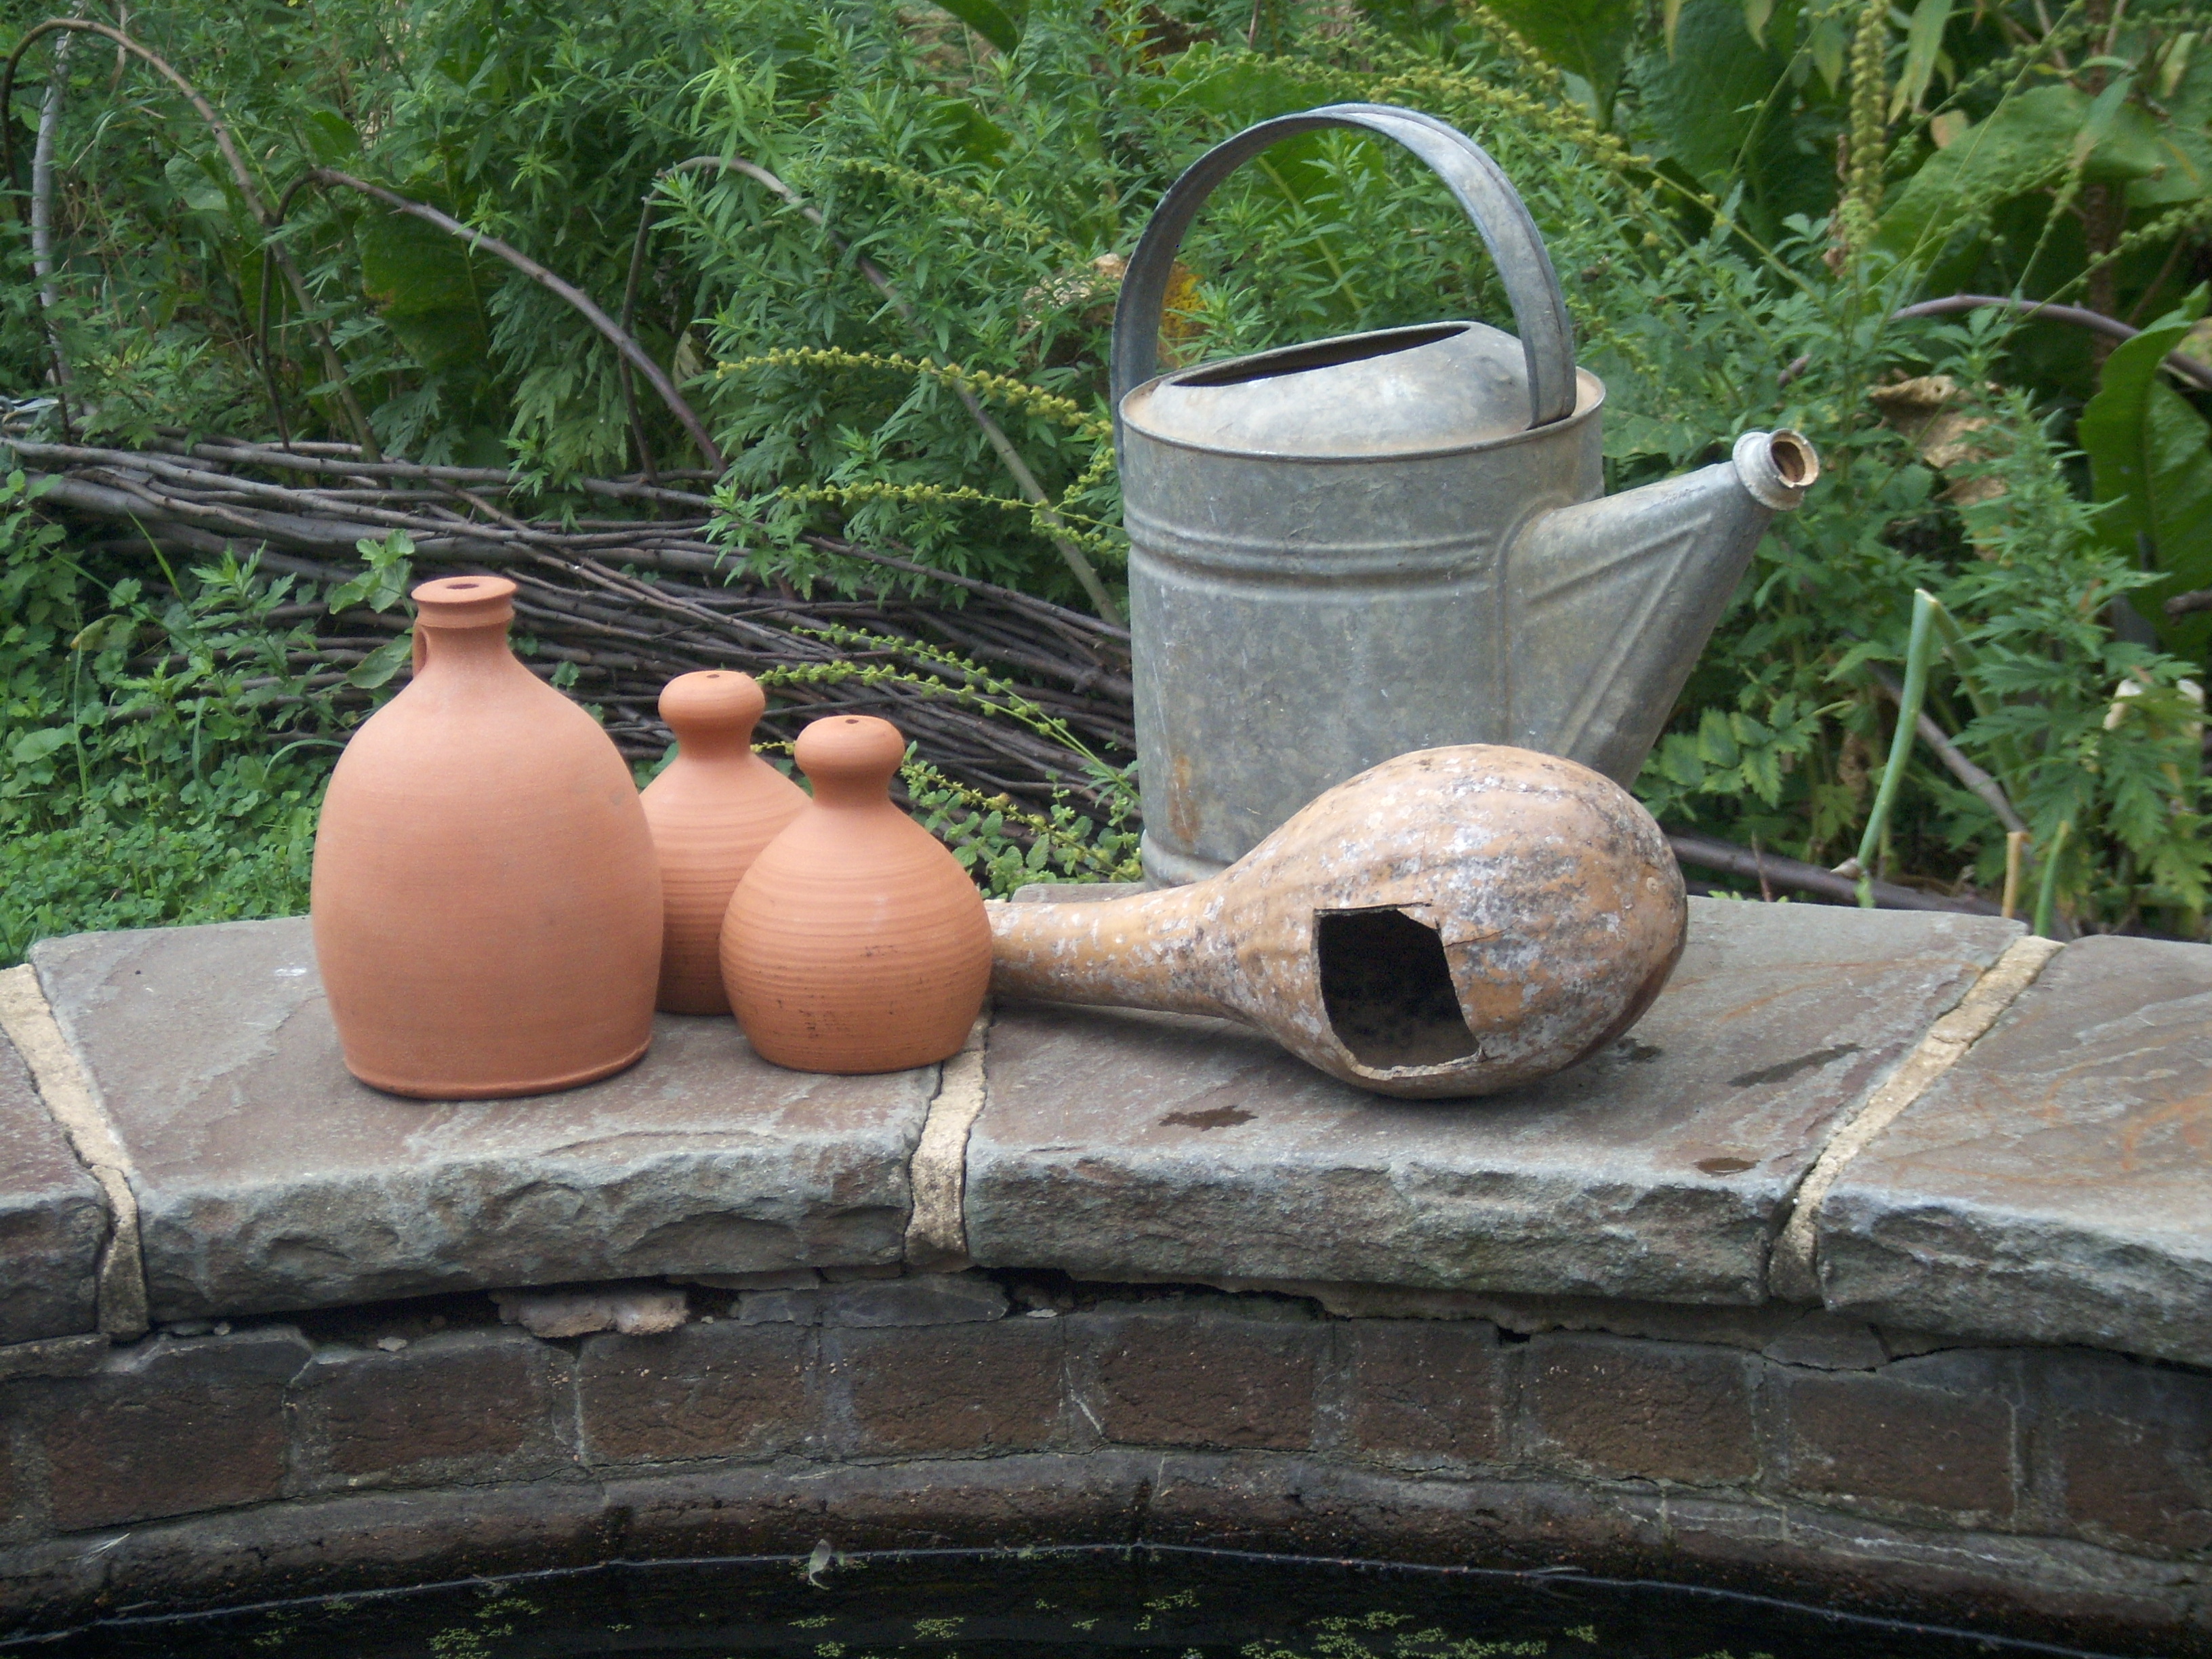
Let’s follow the path of the dipping gourd, which has yielded a particularly plentiful harvest this year. From the garden, the dipping gourds will make their way into storage to dry until next summer. At that time, our summer campers will remove the seeds and return them to the gardener so they can be planted. Once the seeds are removed, each gourd will be fashioned into a ladle-like tool used for watering plants. In a time when metal watering cans were expensive, being able to grow one’s own irrigation tools was certainly a favorable alternative. 

Dried gourds make excellent dippers for the cistern. Gourds and thumb-pots are favorite 17th-century tools kids can use as they water the garden’s many plants.


2012 was also a “hot” year for red and yellow cayenne peppers. Growing cayenne peppers has given the garden staff an opportunity to interpret contradicting horticultural ideas, as not everyone on the estate would have eaten them.  African slaves living at Pennsbury had their own culinary culture and probably would have cultivated cayenne peppers as a food source. However, the Penn family and Pennsylvania’s other English residents would have considered them to be primarily ornamental plants with some medicinal and culinary value. For example, cayenne pepper and other spices would have been added to hot chocolate for an exotic burst of spicy flavor.

The fall harvest is well under way and will continue for the next few weeks. On your next visit to Pennsbury, take a walk through the garden and reflect on the efforts of our gardeners, past and present. They cultivated food for the table, medicine for those who were sick, and even tools for future growing seasons. Autumn is the perfect time to celebrate their achievements!

By Danielle Lehr, Volunteer and Intern

Confessions of a Costumier: Dressing the Tradespeople

Following our 17th-century Fashion Show last spring, I posted an article highlighting the Laborers and their clothing – next up are the Servants & Tradespeople!

These men and women did not have to break their backs in the fields or peddling wares on the streets, but they still lived a humble life.  Perhaps they performed a trade, like turning table legs in a Joyner’s Shop, or worked as a housemaid on a large estate like Pennsbury Manor.  Perhaps after saving their wages, they would have enough to purchase a small farm or open their own shop.  They had enough to live on, but their modest clothing reflected their lower station in society. 

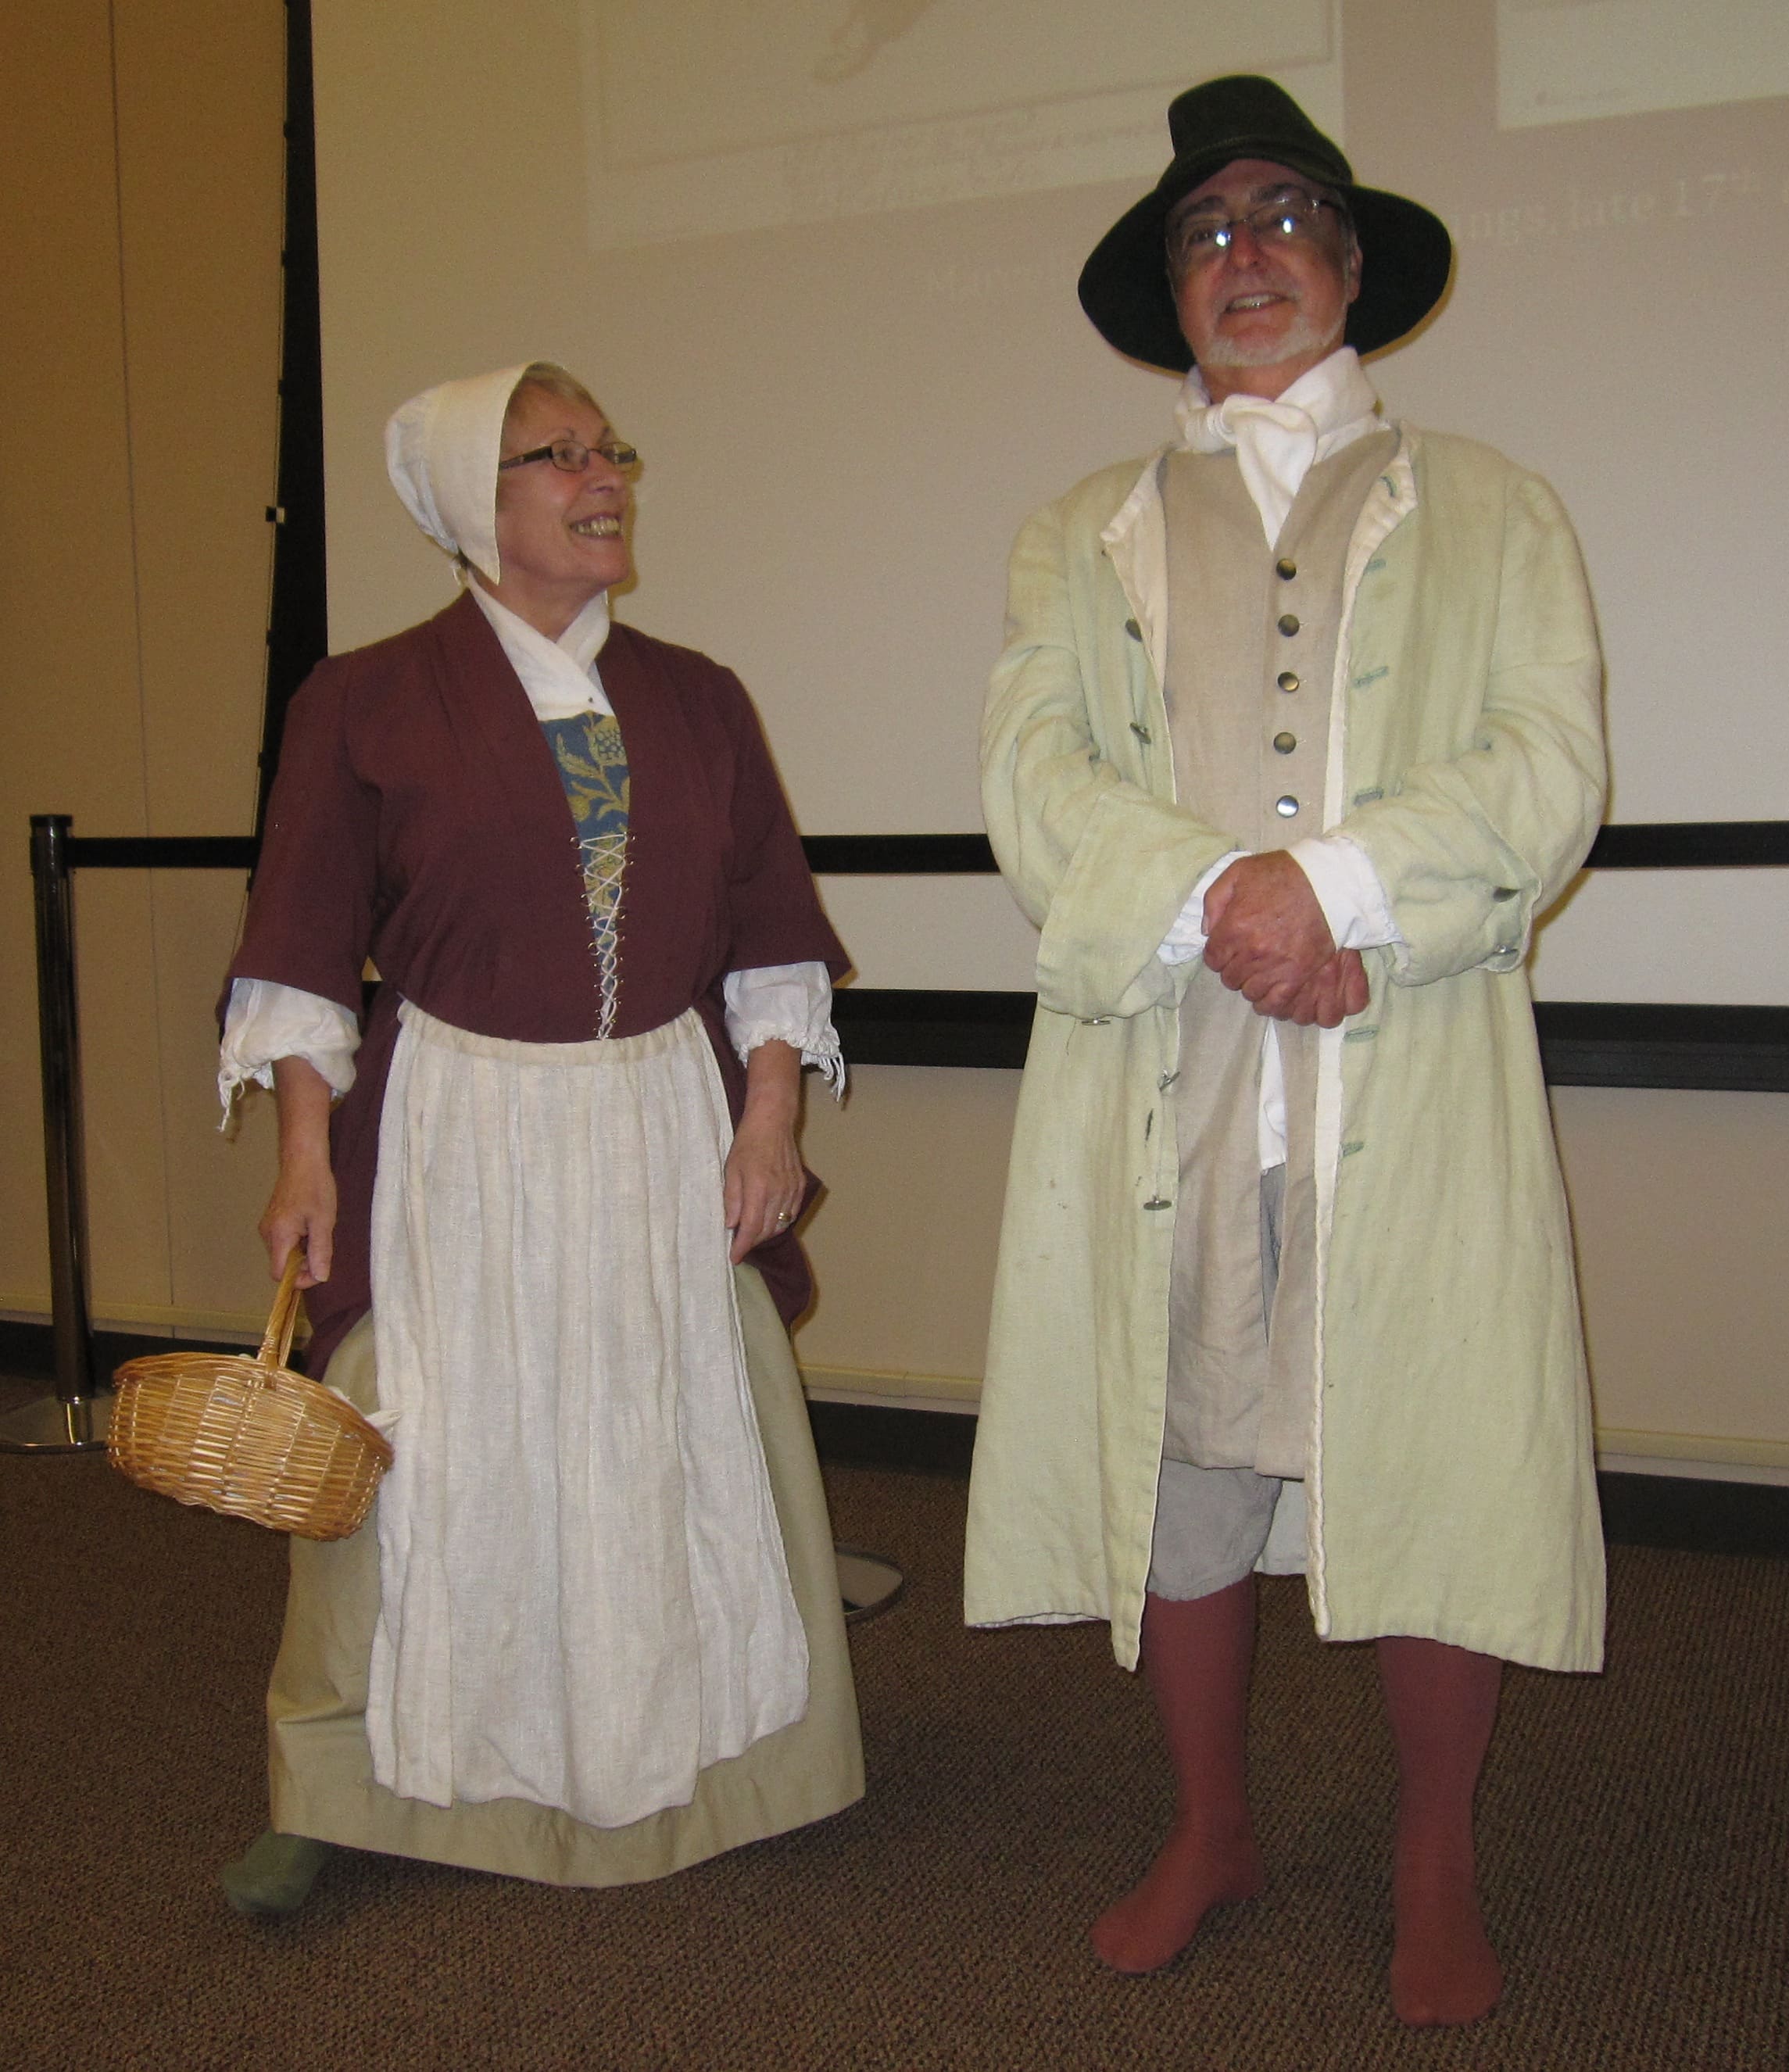
Pennsbury volunteers Valerie and Joseph Long are pictured here modeling appropriate ensembles.  Valerie is wearing the latest in 17th-century gowns: the Mantua (featured in a previous post).  Her gown is a modest cut and color, and the fine wool fabric would last a long time.   Her serviceable coif may not have been the latest style in caps, but it kept the hair off her face while she worked. 

Just like his wife, Joe’s simple linen waistcoat and justacorps (also featured previously) was fashionable yet serviceable.  Linen is a hard-wearing fabric that would last, which is important when every piece of clothing you buy is an investment.  Tradesmen like Joe would dress informally when working in their workshops – shops were for manufacturing, not selling; that would happen at a store or at least a separate room at the front of the building.  But when walking through town, he would still want to look like a man of business and stature. 

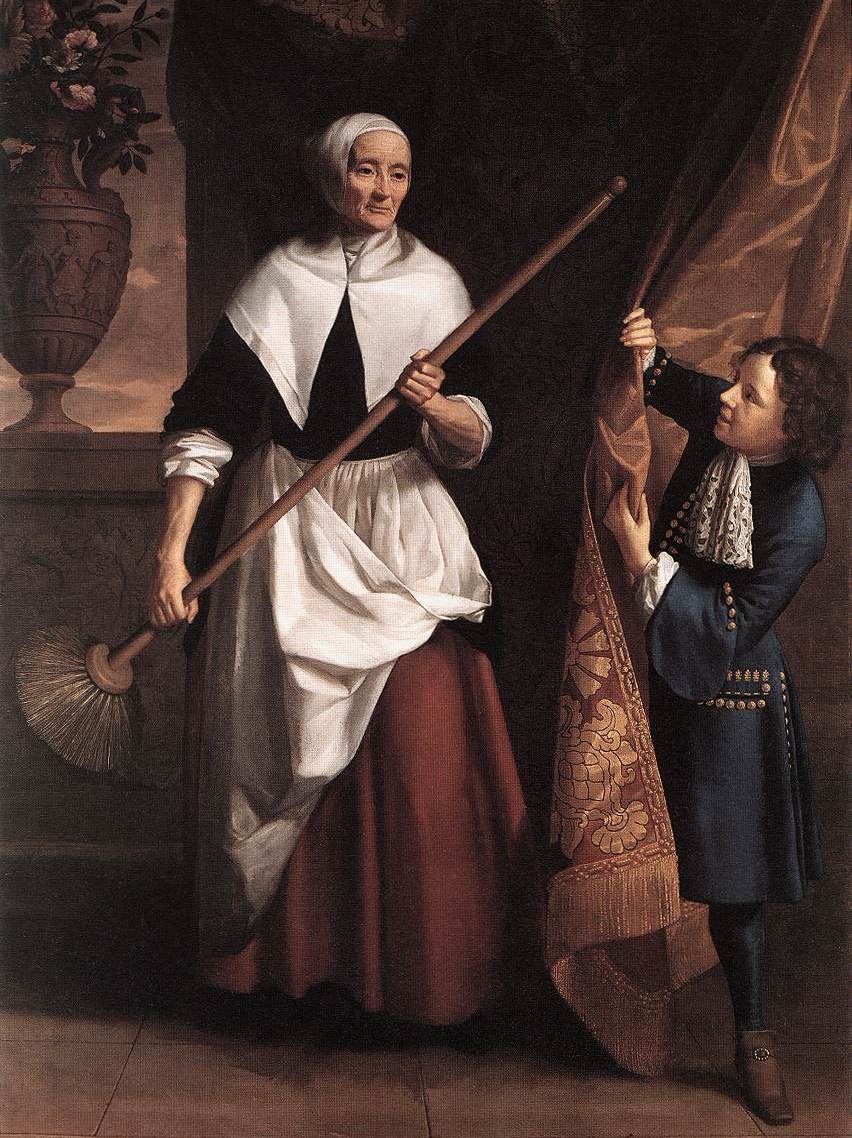
Notice this housemaid's appearance - her clothing is made of high-quality fabrics but in a simple style, and she obviously keeps them clean and in good repair. John Roley, "Bridget Holmes, a Nonagenarian Housemaid," 1686

A person’s outward image was a reflection of their status in society and served as a walking advertisement to others on how to treat you.  Earlier in the 17th century, English law actually restricted what people could wear based on their social class.  But as the gentry class increasingly sold their clothes to secondhand shops in order to fund their new, more fashionable wardrobes, the lower classes began to buy those high-quality garments.  In wearing these gently-used pieces, just a fraction of the price for new clothes, they started looking just as nice as their employers.  The gentry were NOT HAPPY and wrote in their letters and journals how frustrating it was when the maid looked just like the mistress!

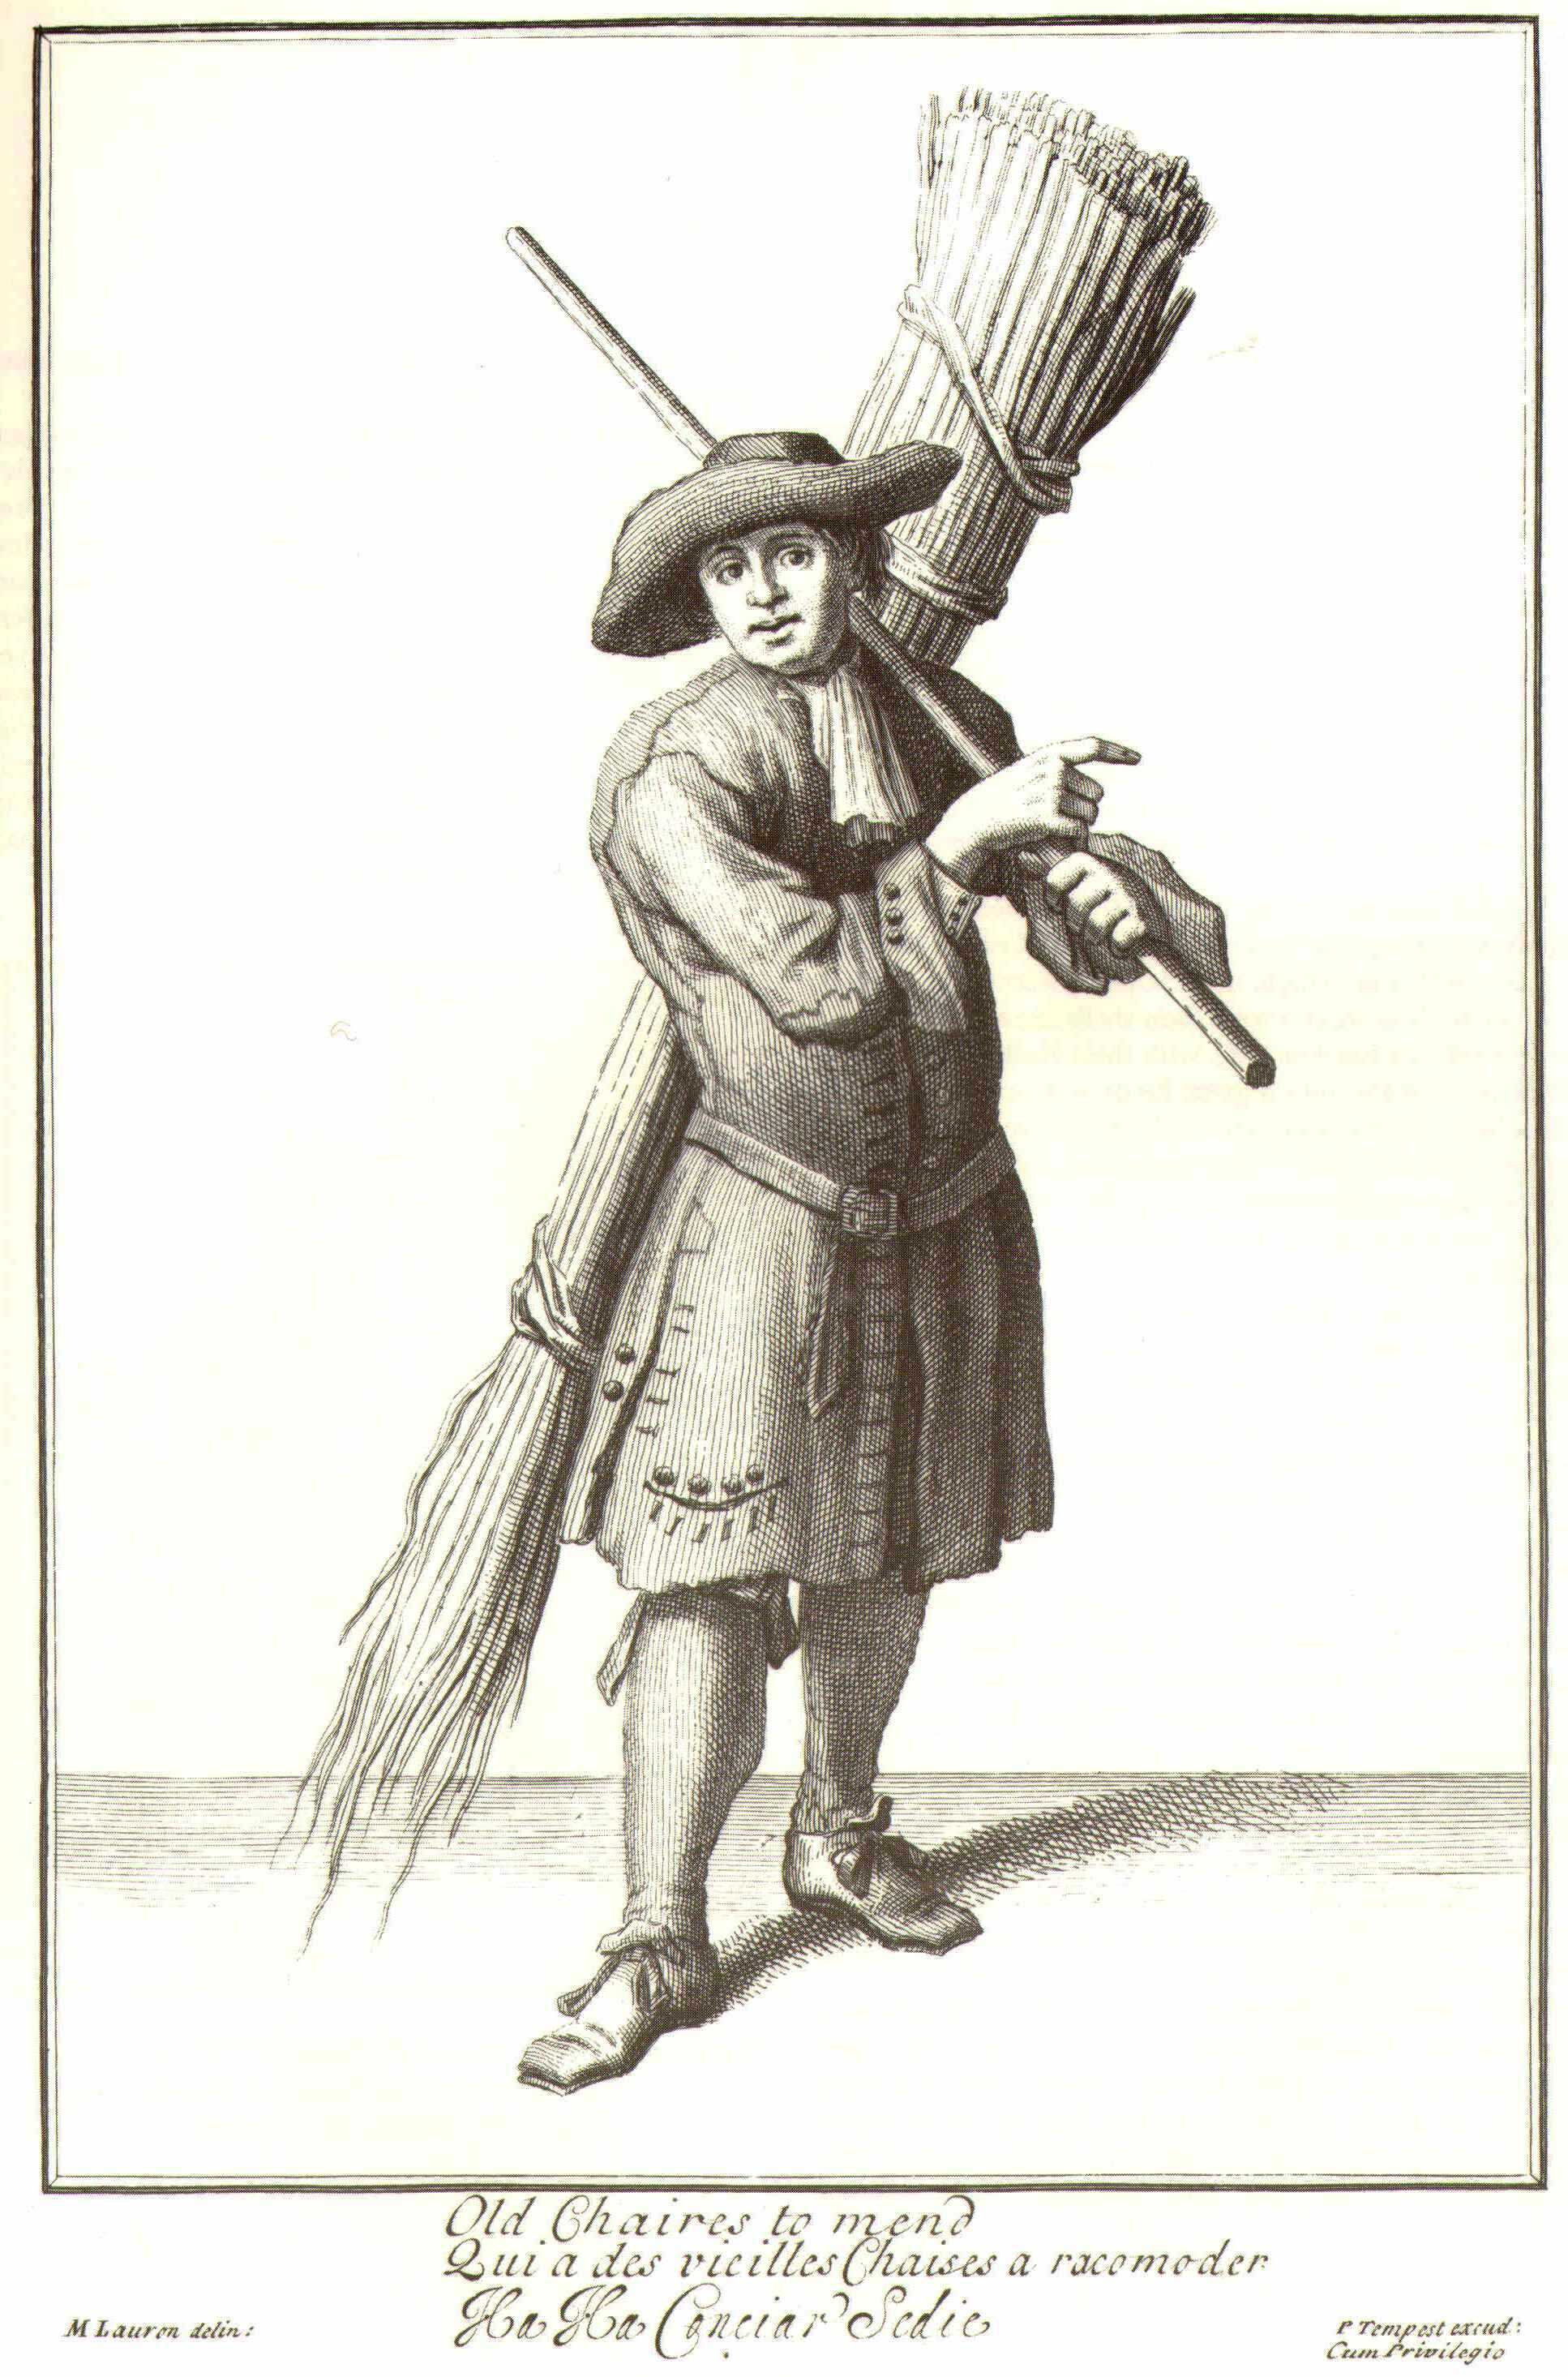
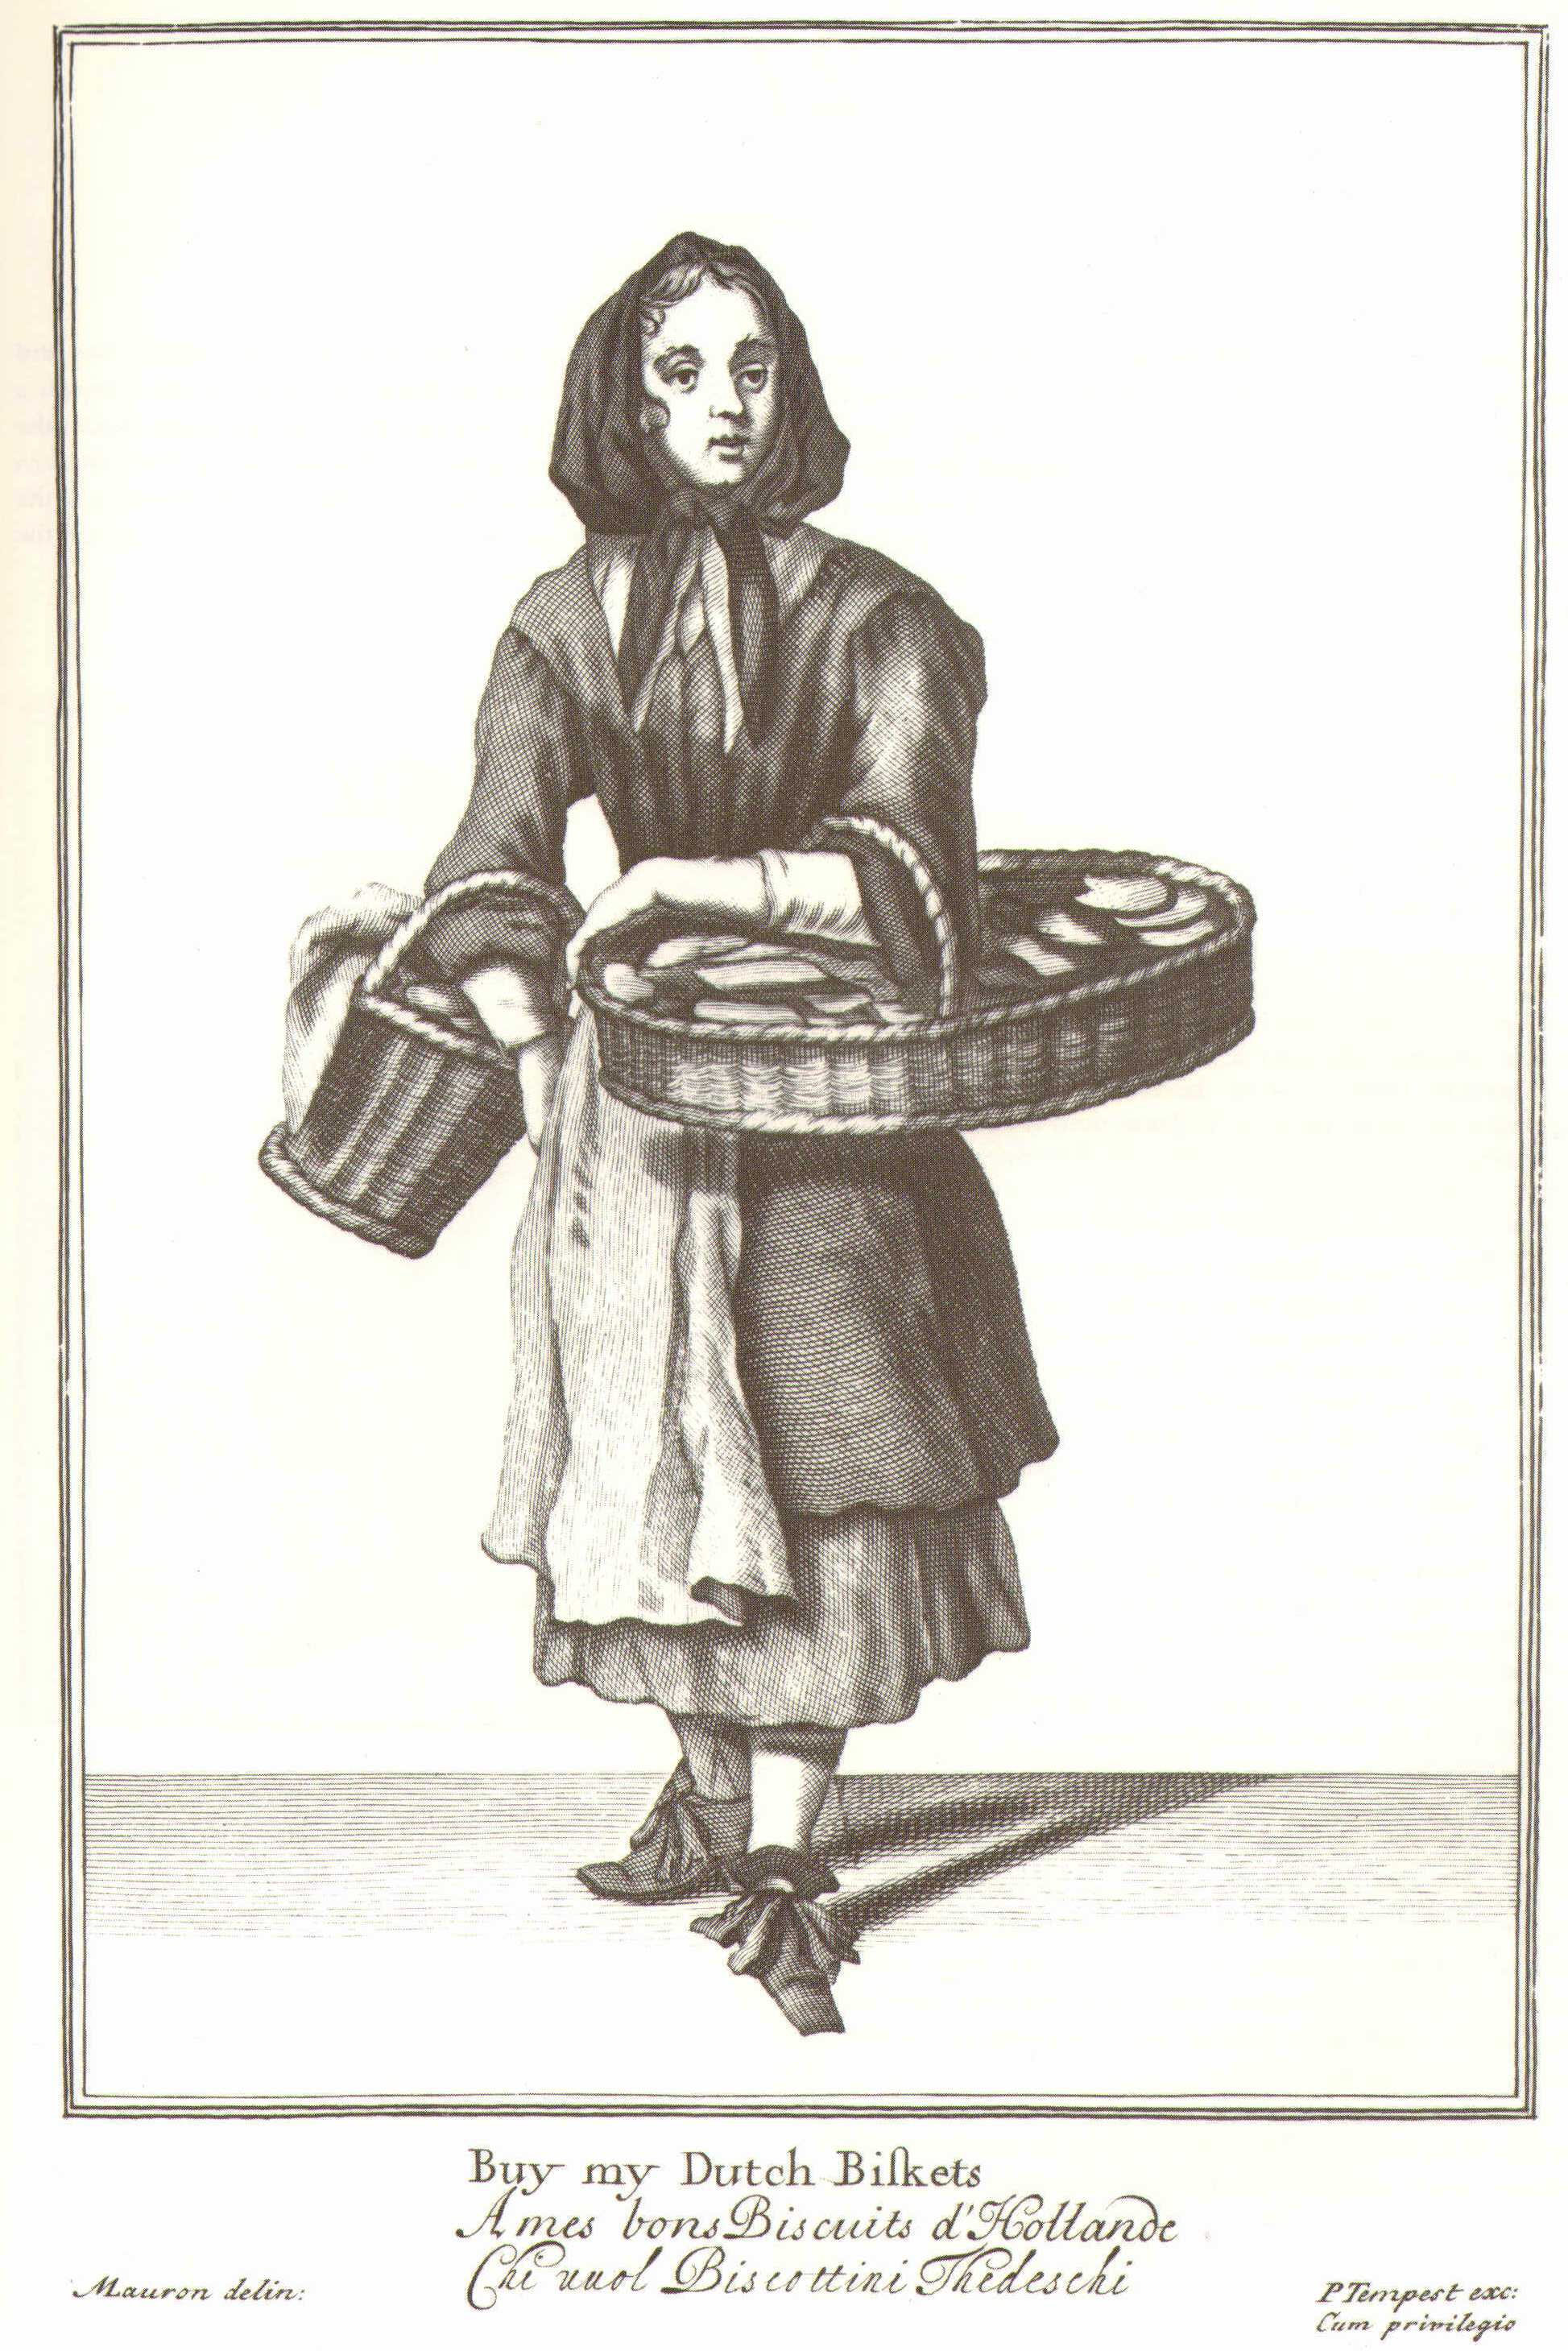
Marcellus Laroon, "Old chairs to mend," published late 17th-century.

Written by Hannah Howard, Volunteer Coordinator & Costumier


**You might be wondering why our models don’t have any shoes on in these pictures?  That’s because we haven’t been able to afford any.  We are fundraising to purchase reproduction shoes, since a costumed interpreter in sneakers ruins the whole atmosphere…  To help out, you can visit our official website www.pennsburymanor.org and click the “Donate Now” button at the bottom.**

The Country Life: Growing our Clothes

As the summer heat drags on, we turn our focus to an important crop we’ve been growing in the Kitchen Garden: flax. This reed-like plant has been used for thousands of years to create a light-weight, durable fabric called linen, which was a staple textile for common folk and aristocrats alike. 

Flax plants starting to grow in the hot beds at Pennsbury, 2011

Linen production in the Delaware River Valley began primarily in Swedish settlements as farmers began cultivating flax. By the time William Penn held the proprietorship of the colony, local leaders were urging settlers to increase growth of this fiber crop.

The harvest of the flax begins in late July. Farmers would pull the crop from the ground and tie them into small bundles in which they would be laid out to dry for several days. Next step would be to pull the fibers apart with a tool referred to as a “ripple comb.” During this stage, the seeds would be removed and could either be used for planting or sent to an oil mill for pressing.   

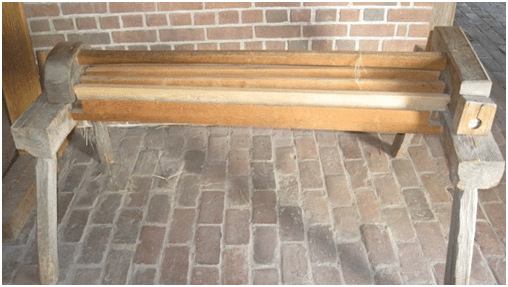
Flax-breaker

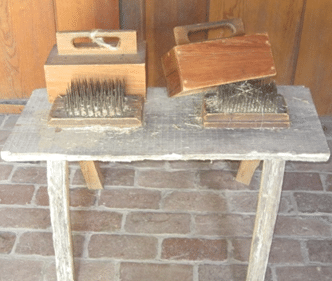
Following this, the separated fibers would be wetted and laid out to soften. After separating them again, they would begin a process known as “hackling” or “hatchling.”  Workers would draw fibers through a board with fixed steel teeth, providing fibers for grades of linen varying from rough working clothes to finer table clothes and sheets. 

Combs for "hackling" the linen fibers

Flax was not initially a popular crop because of its need for fertile soil and the time-consuming, strenuous process of harvesting.  However, flax became more profitable up into the mid-1700s as a major export of the region. Soon, with the rise of cotton in the 1800’s, linen production would nearly cease to exist.  

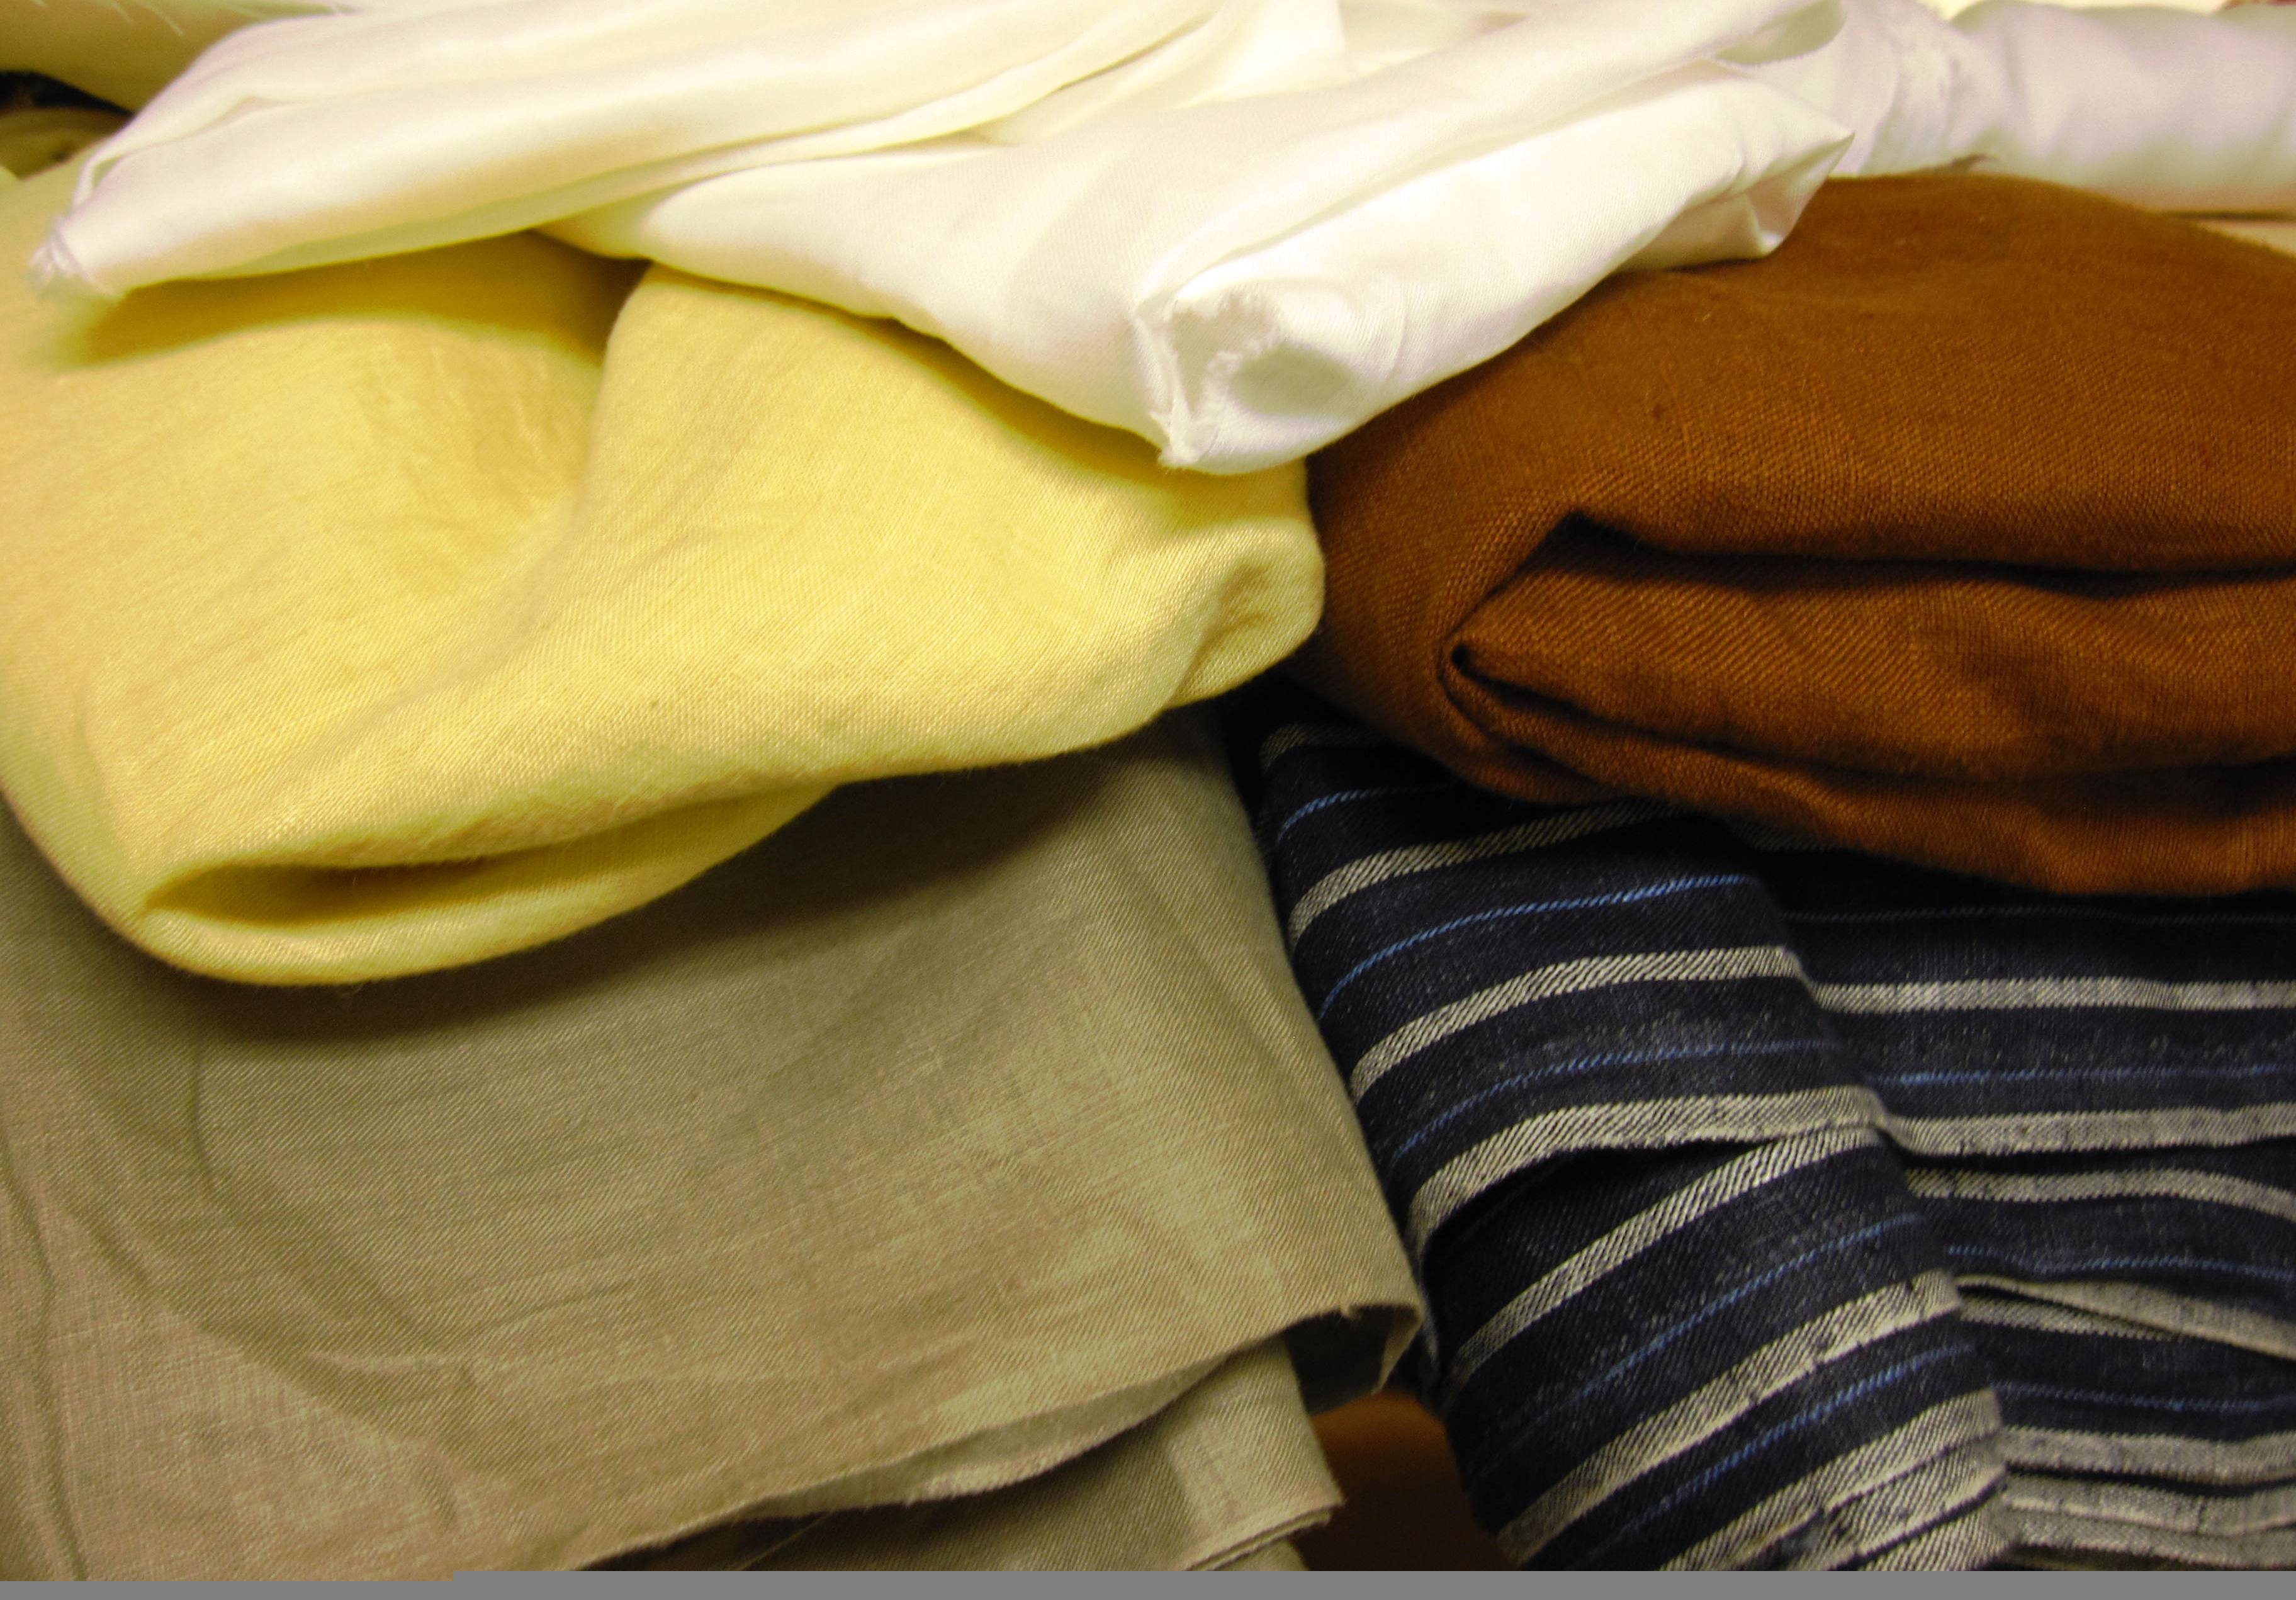
Bolts of modern linen from Pennsbury's clothing program

On an estate such as Pennsbury Manor, linens of all kinds would be common, from the roughest weave to the finest bleached linen. Visitors can see evidence of it’s colonial role all around, from the tools of flax harvest found in the kitchen house to the linen press kept in Penn’s Great Hall to store his expensive investment.  Linen was one of the key fabics of its time, and continues its popularity today!

By Ray Tarasiewicz, Intern


William’s World: Men of Metal and Mettle


Back in May, we posted an article on the Joyner’s Trade.  Now our intern Ray is exploring the blacksmithing tradition at Pennsbury and wants to share what he’s found!

"Blacksmith at His Forge," Le Nain Brothers,1640

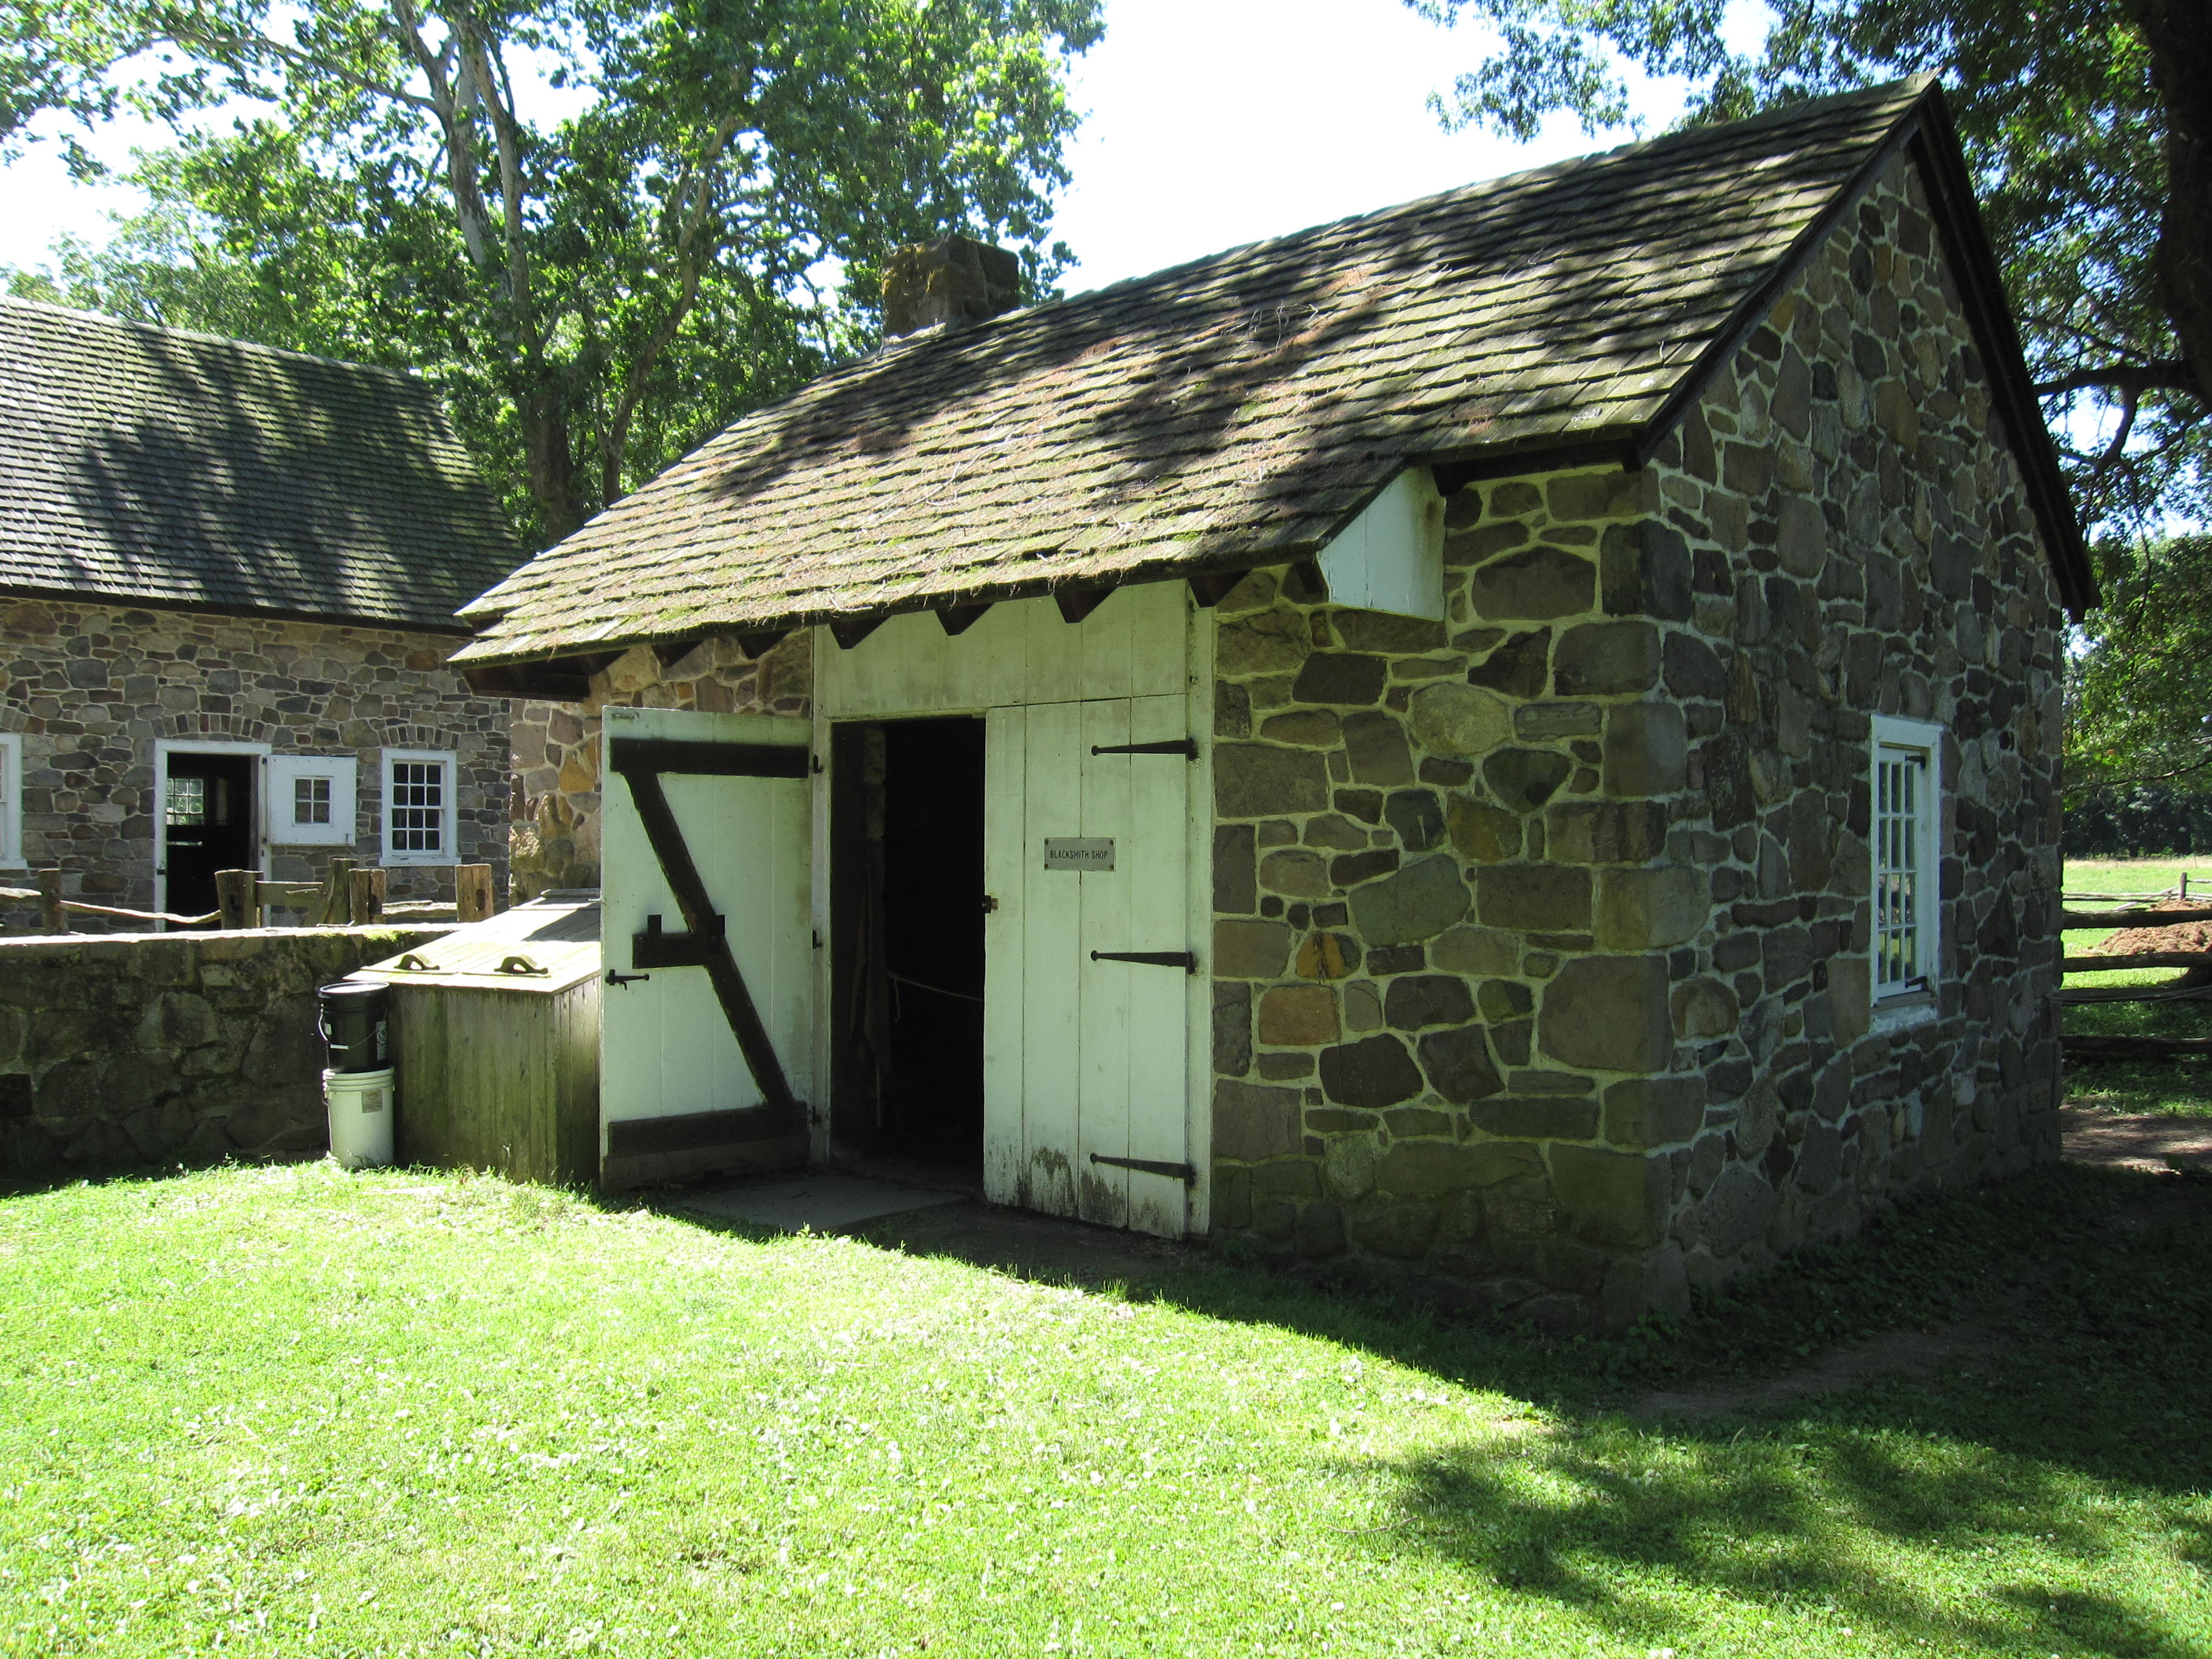
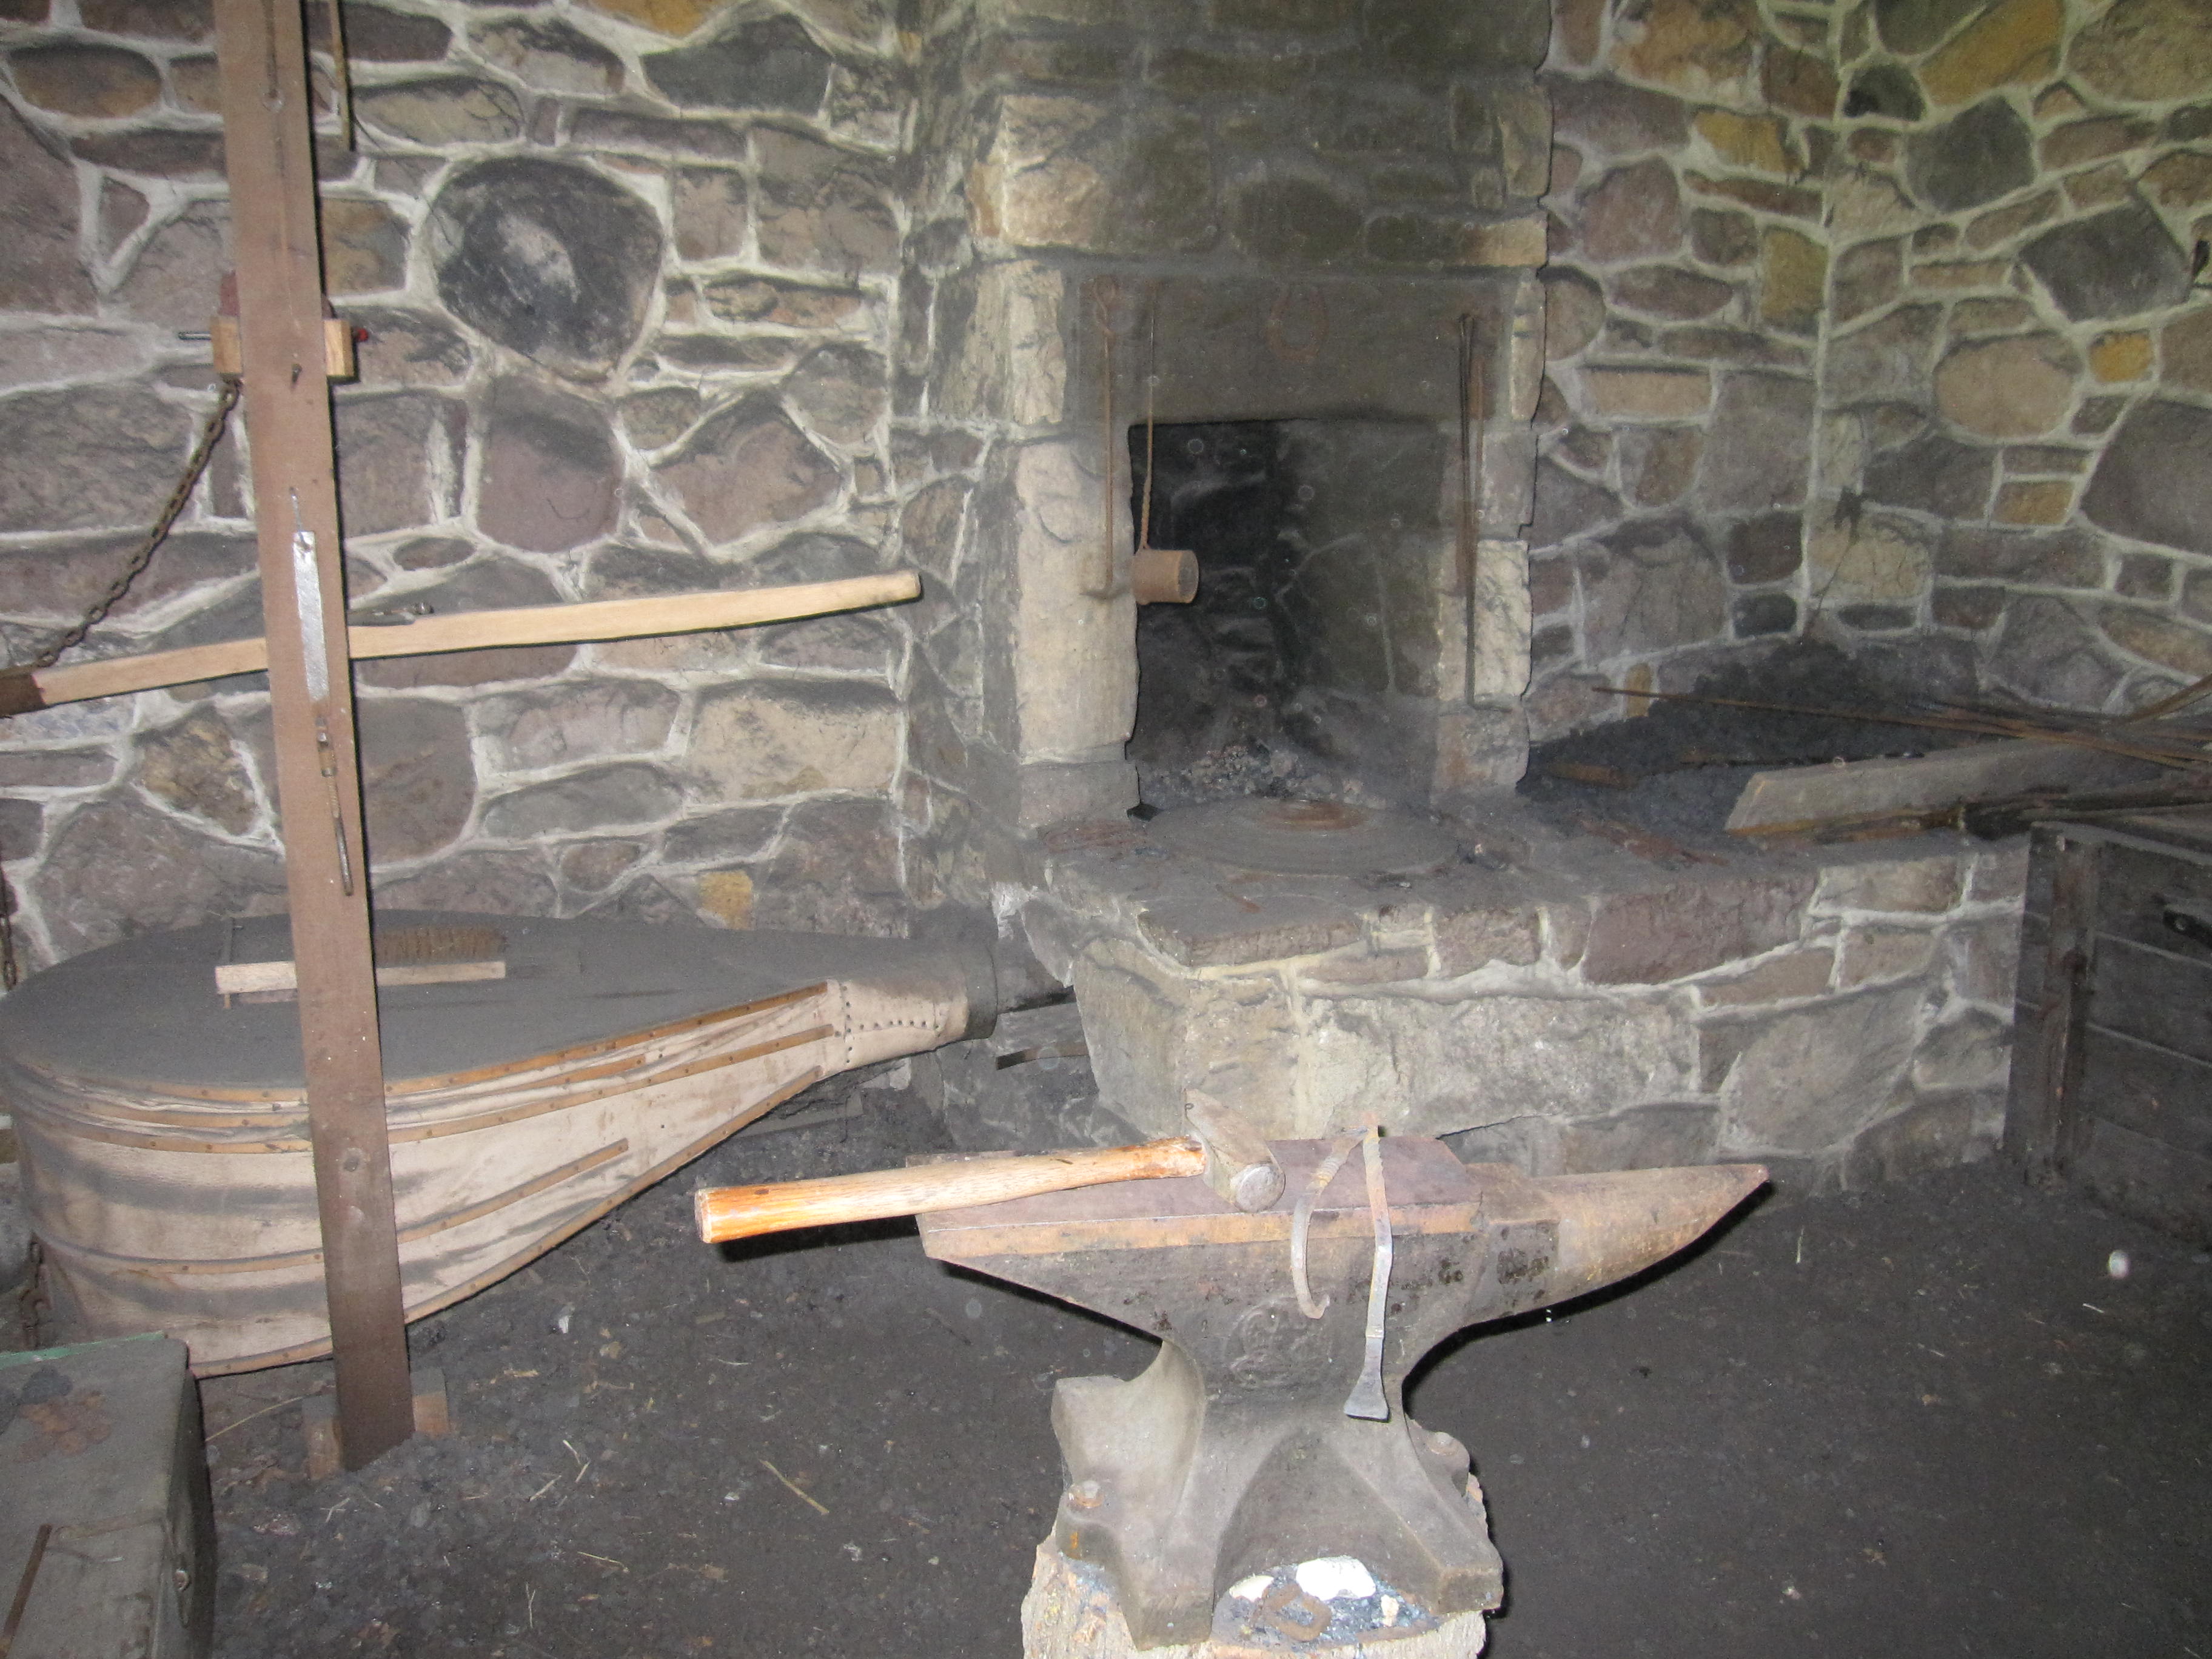
A blacksmith in the time of William Penn was considered a highly skilled craftsman, someone who could provide a town or estate community with valuable tools and metal accoutrements. We know of a “smith” on the estate of Pennsbury Manor from a 1687 inventory and various letters that have survived. One list called for blacksmithing tools to be brought over by ship from England. Along with these tools, the shop was stocked with a bed, blankets, rugs, and two chests. This indicates that not only did a blacksmith work at Pennsbury, but also most likely lived above his shop. A worker with such skills would be essential on a working estate like Pennsbury, for he would be required to create, maintain or repair any object made of metal on the property. Along with his normal duties, we have reason to believe Penn’s “smith” also helped deliver mail. In a letter from local Quaker resident Phineas Pemberton to his wife Alice, he wrote that “this comes by the Govenor’s smith.”

During the excavation of the site in the 1930’s, many artifacts such as nails, latches, and hinges were found (on view in our exhibit!). Items such as these would have been manufactured by Penn’s “smith,” along with various tools and even shoes for horses. Today at Pennsbury, we have a reconstructed blacksmith shop with tools that would have been used in this pre-industrial setting. Every first Sunday from April-October, volunteer interpreters recreate the atmosphere of fire and clanging metal in their blacksmithing demonstrations for visitors. 


~ Written by Ray Tarasiewicz, Intern


Confessions of a Costumier: Dressing the Laborers

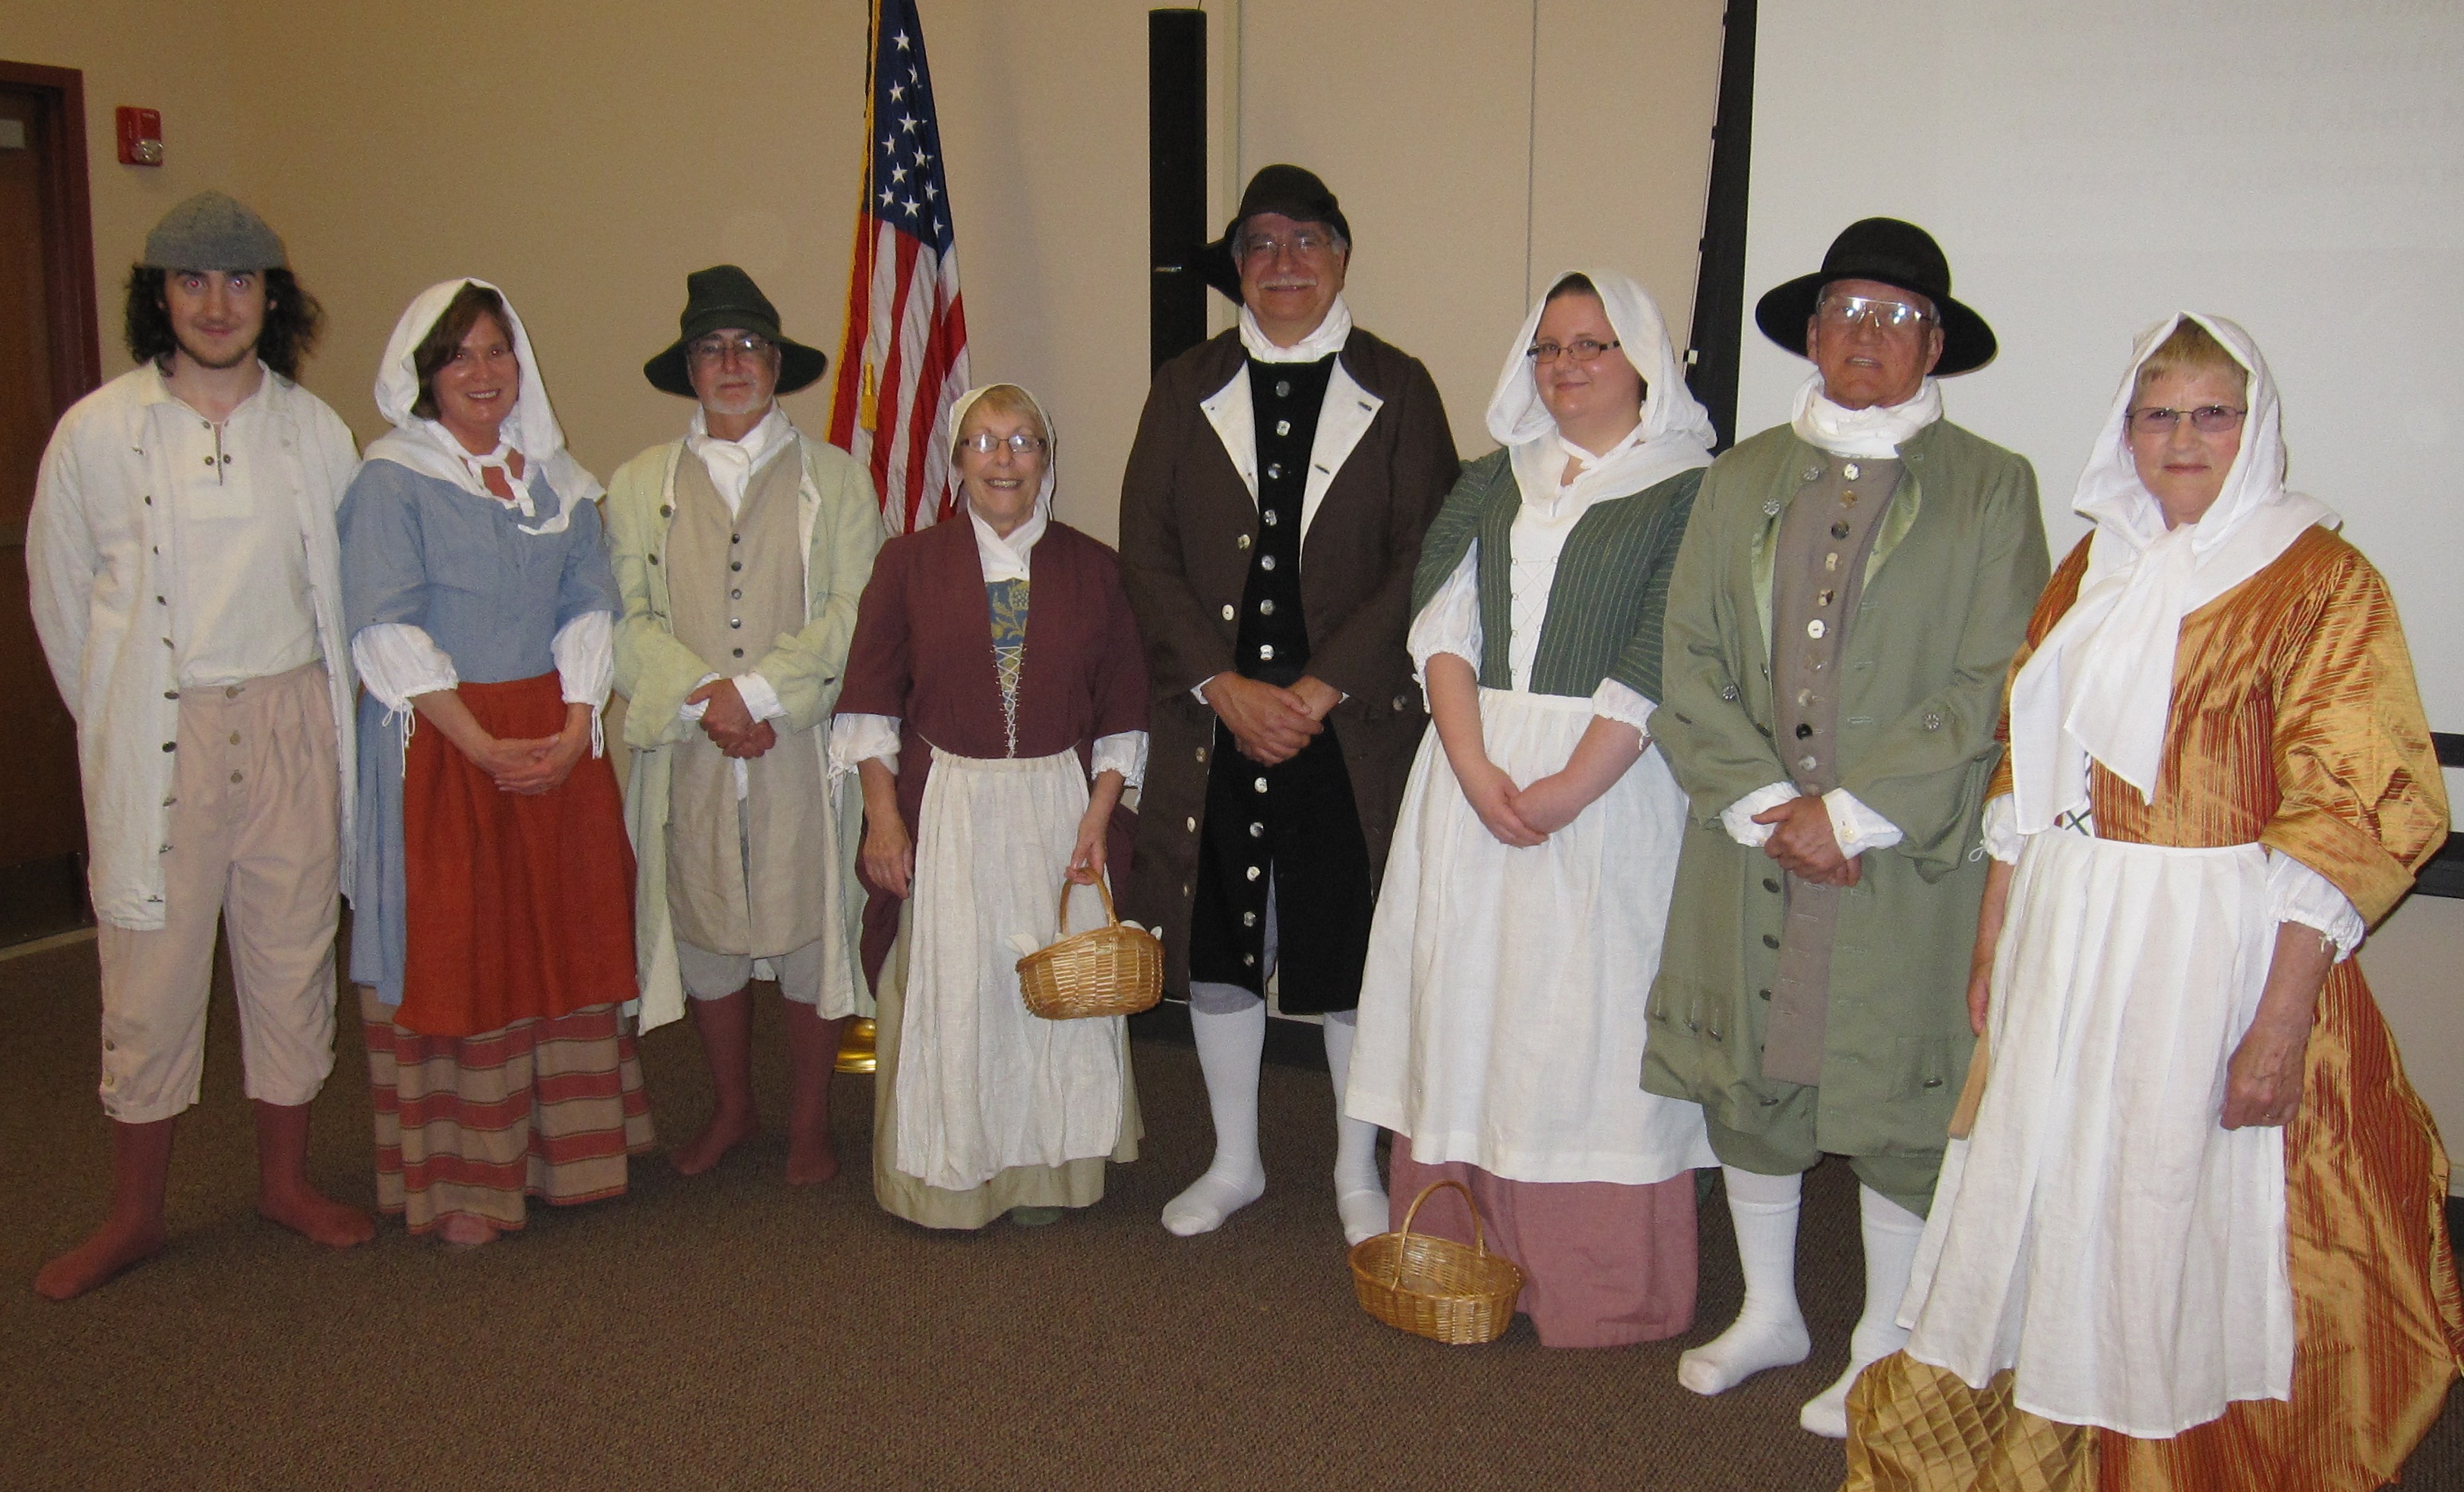
About a month has passed since our 17th-Century Fashion Show, and we had such an amazing time!  A HUGE thank-you goes out to our lovely volunteer models (L-R) Mike Thomforde, Maggie Brosz, Joe Long, Valerie Long, Steve Ringel, Melissa Dill, Ron Matlack, and Judith Kirby.  Don’t they look great??

I finally have some time to begin sharing what was discussed during the program.  We covered so much about the evolution of clothes in the 17th century, but what I want to highlight most is the diversity in society.  I previously posted a teaser of these various styles, and it’s an important step in the evolution of our living history programs.  Fashions changed not just for the aristocracy, but all the lower classes as well.  A colorful range of people would have lived and worked in colonial Pennsylvania, and we strongly believe all those people should be represented at Pennsbury Manor.  This includes showing the variations in their wardrobe!

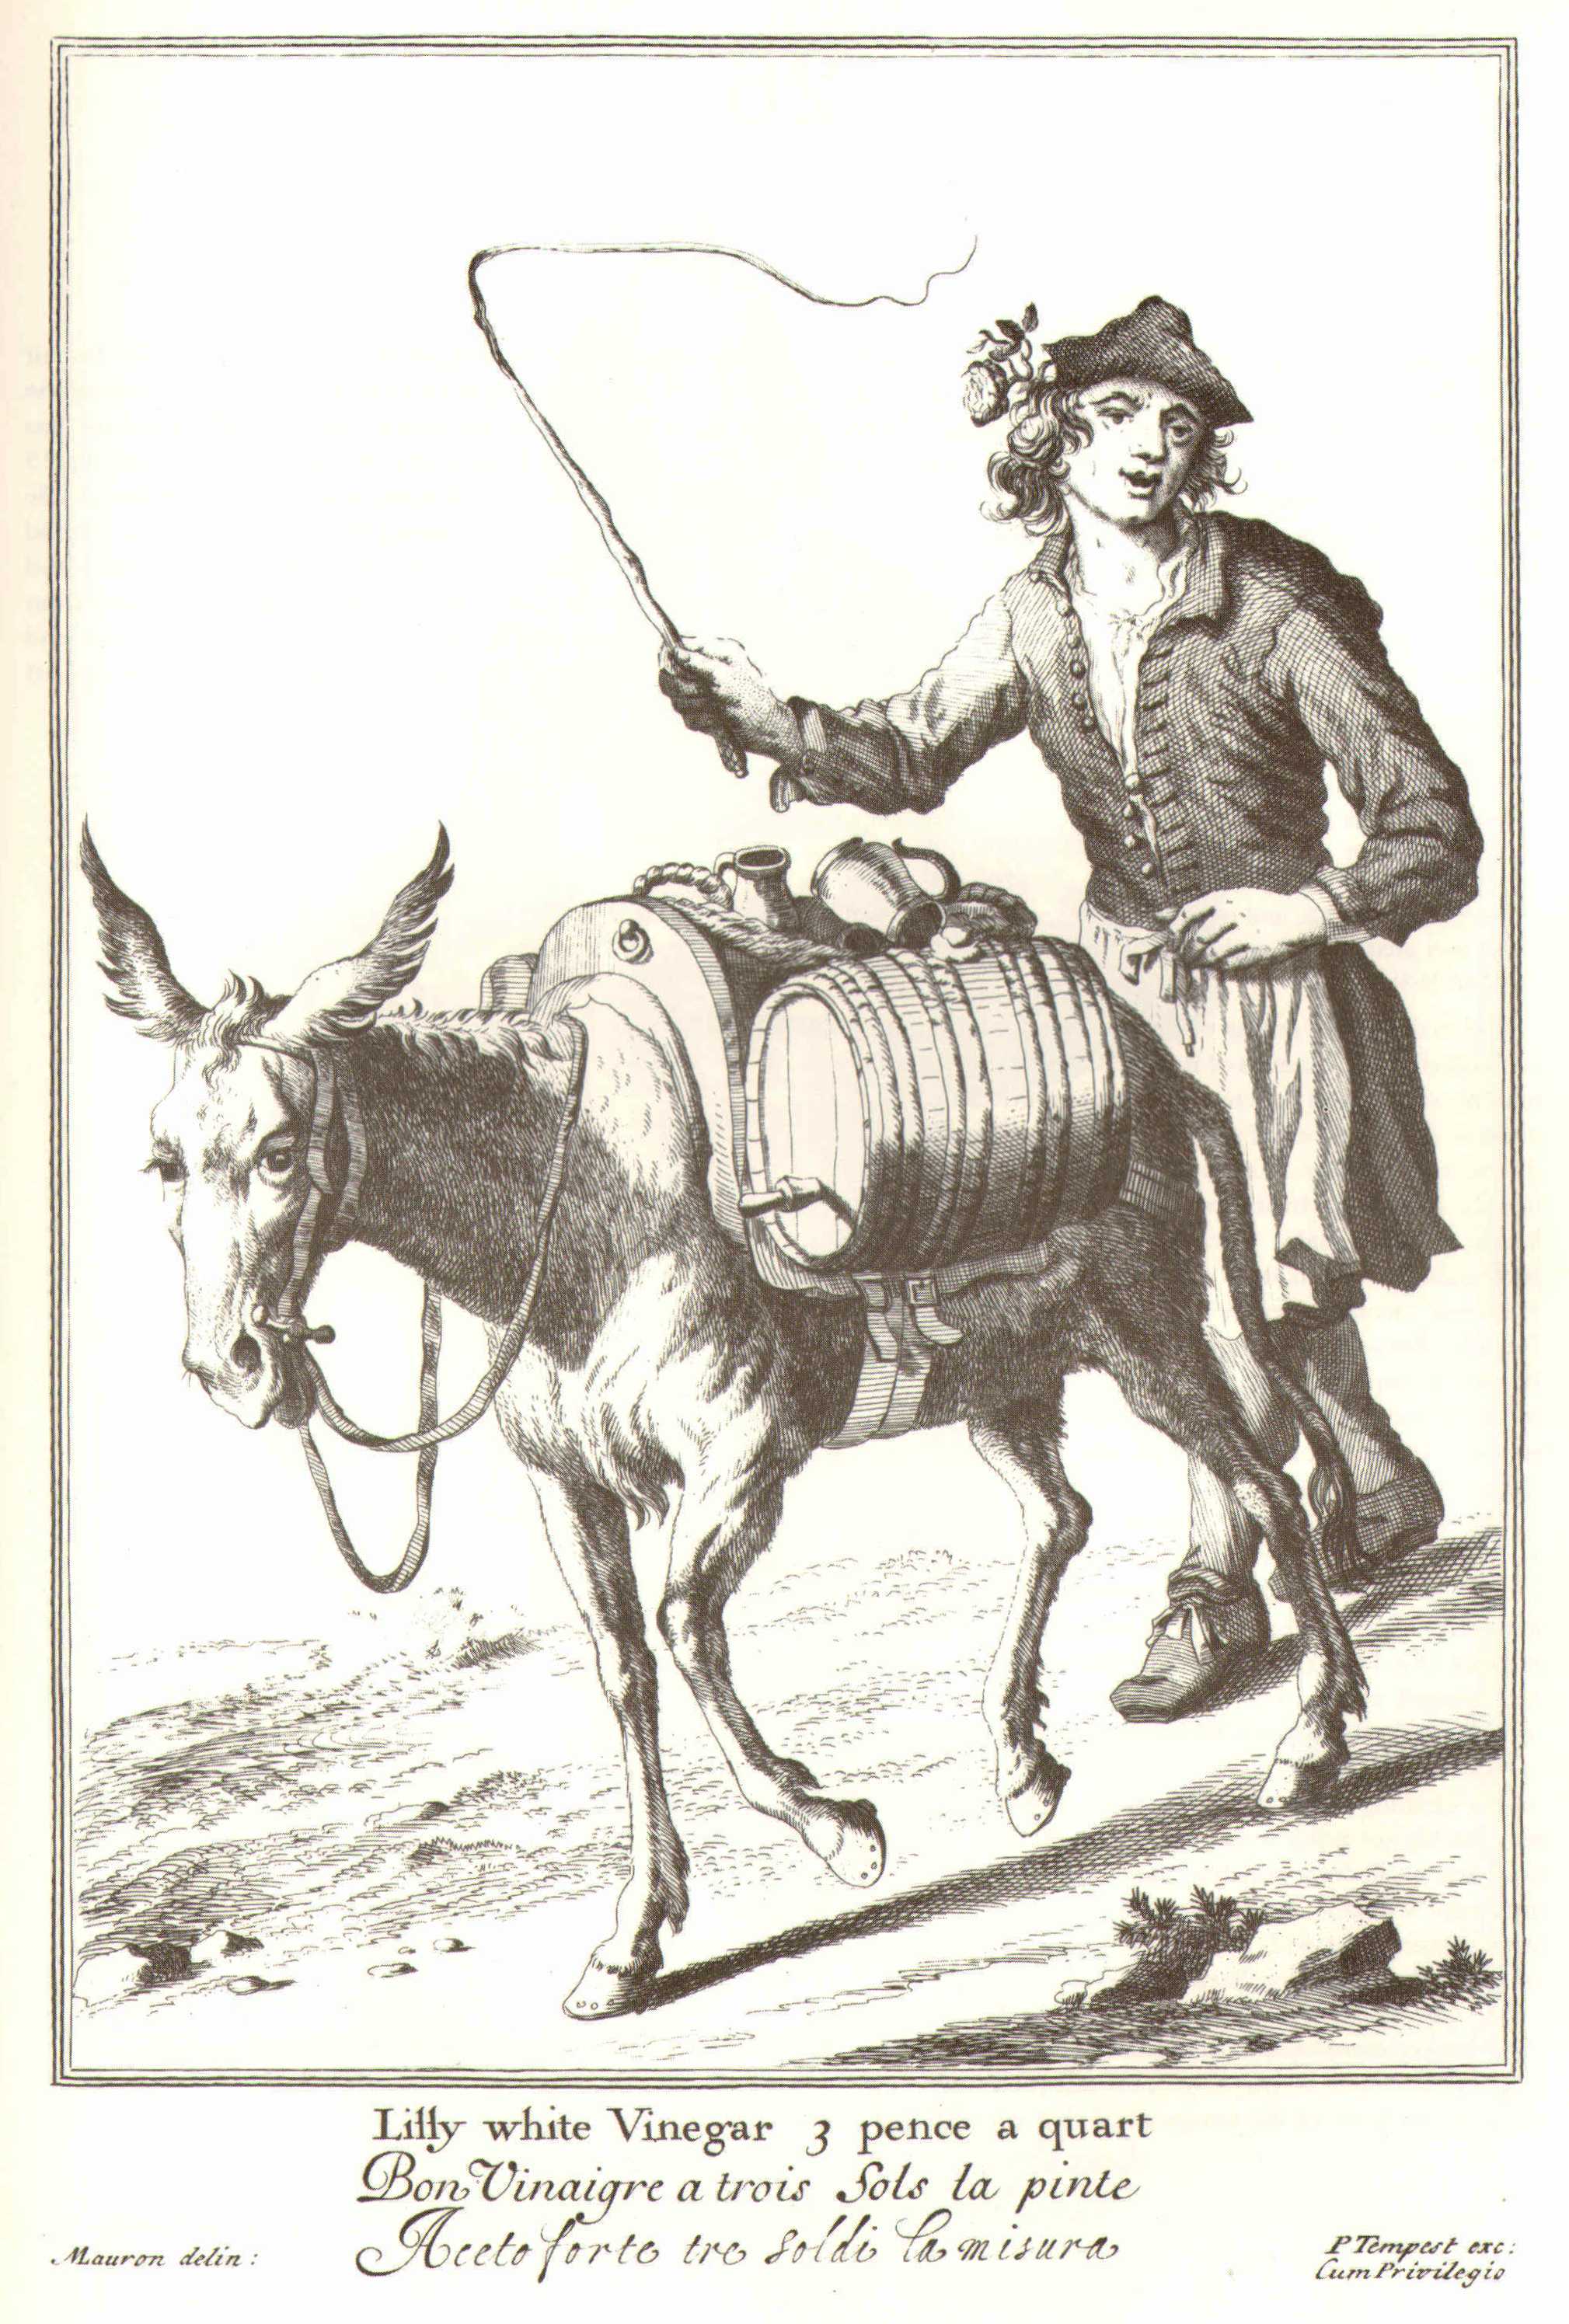
So today we begin with the lower class of residents at Pennsbury: the Laborers.  Whether you were plowing the field, tending the kitchen garden, or churning butter in the dairy, your clothes needed to be practical.  Below you see Mike and Maggie modeling appropriate ensembles.  Compare them with the 17th-century drawings by Marcellus Laroon, which depict the poor street cryers in late 17th-century London.

Outdoor laborers would have needed to dress for the weather and conditions required of their jobs.  While they might have a better set of clothes for Sundays or special occasions, out in the fields their attire had to be sturdy and comfortable.  Mike is modeling a shirt, coat, and breeches which are all linen and obviously too big to be made for him specifically.  He could have received hand-me-downs or bought clothes secondhand from a street cryer or ready-made from a store.  His monmouth cap was a universal style worn by land laborers and sailors alike for centuries.  If performing a dirtier job, he would don an apron like the one seen below on the vinegar-seller.  

Just like Mike, Maggie is dressed to tackle the hard jobs all laboring women would face depending on the season.  She might spend her days washing clothes, tending the Kitchen Garden and animals, brewing beer, or preparing meals at the hearth.  The older style of short gown, rather than the more recent mantua style (seen in a previous post), would have been safer for working around fires and less cumbersome when laboring in the garden or stable.  Her apron is made of a spare piece of rough linen and kerchief tucked into her bodice and out of the way.  The only sign of fashion is the striped linen petticoat.  

**You might be wondering why our models don’t have any shoes on in these pictures?  That’s because we haven’t been able to afford any.  We are fundraising to purchase reproduction shoes, because an interpreter in sneakers ruins the whole atmosphere created by historical dress, am I right?  To help out, you can visit our official website www.pennsburymanor.org and click the “Donate Now” button at the bottom.**


Written by Hannah Howard, Volunteer Coordinator

William’s World: Why Don’t You Joyn Us?

This post was written by Steve Samuel, a new volunteer interpreter in the Pennsbury Manor Joyner’s Shop!   He thought many people, like himself, wouldn’t know the difference between a Joyner and all the other woodworking trades, so he did some research…

THE WOODWORKING TRADES

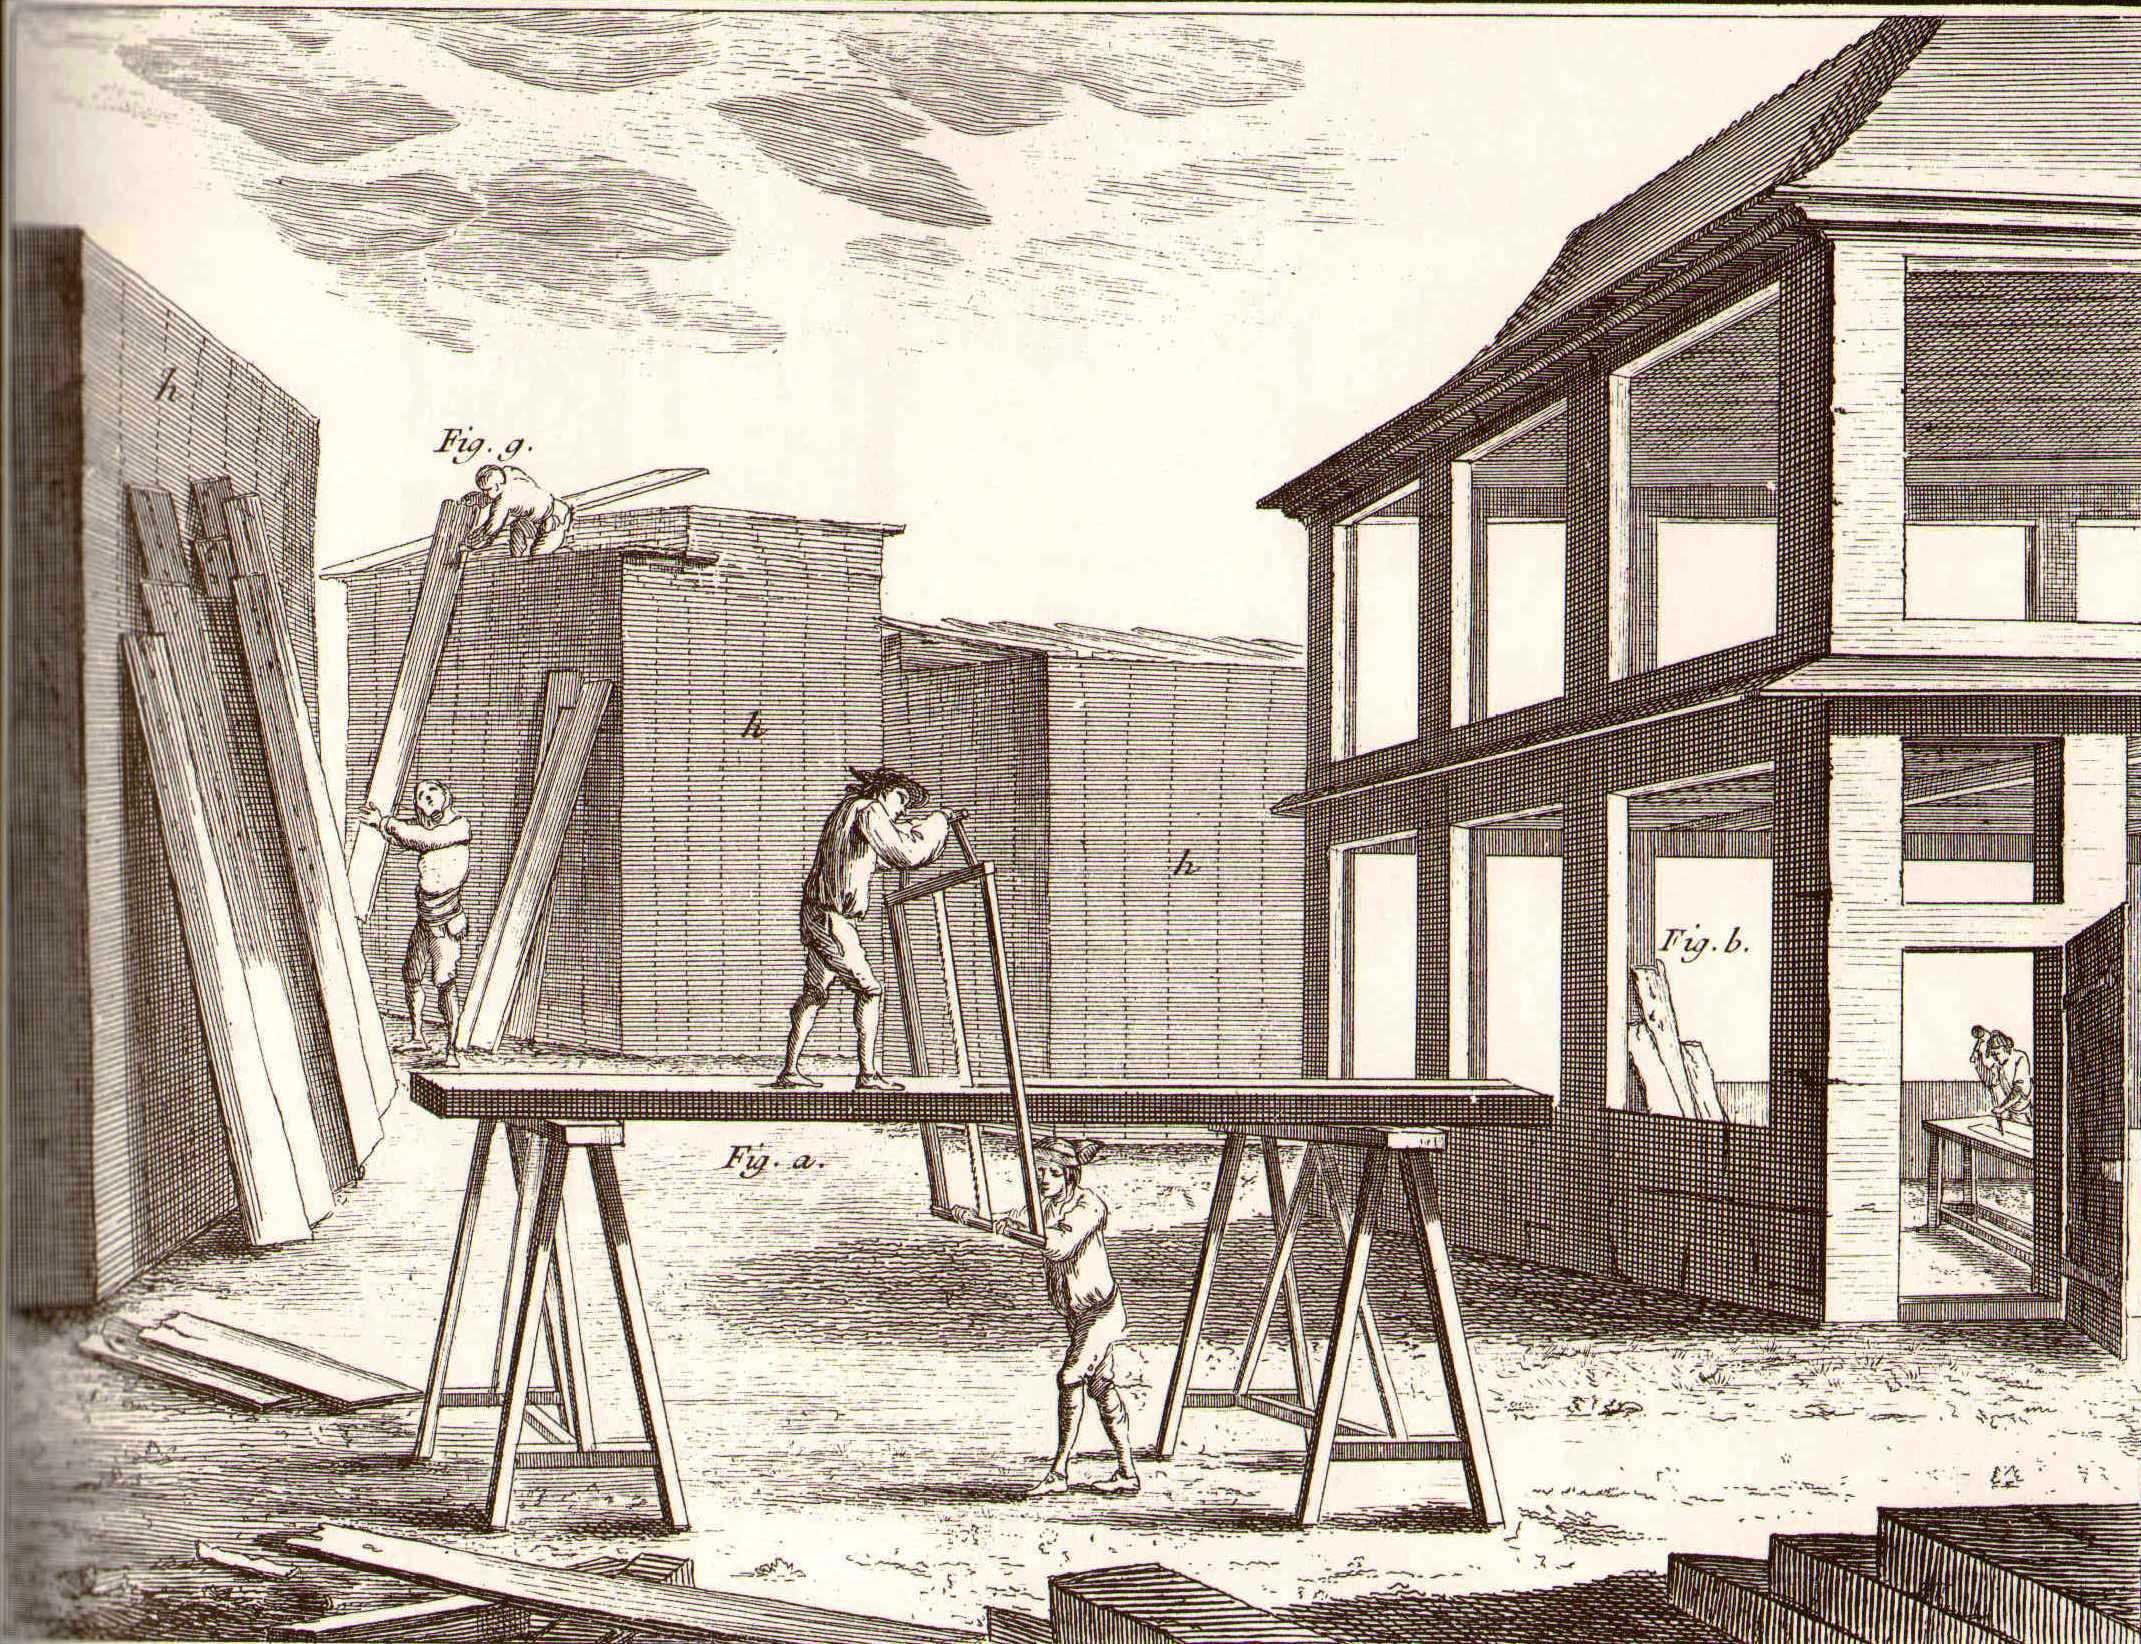
Figure depicted in "The Joiner II," Denis Diderot, 1751

During Manor tours, it is not unusual for visitors as well as the occasional tour guide to stand in front of the Joyner’s Shop, and refer to the joyners as “carpenters”.  Historically, however, professional joyners distinguished themselves from carpenters as matters of both business and pride.

Dating to the mid-1400s, furniture making was overseen by the Guild of Master Carpenters, who subcontracted work to joyners, inlayers, turners, etc.  These specialists began forming their own companies (guilds) in the 16th and 17th centuries.  Each specified its distinct form of woodworking to make sure that others were not infringing on their trades.  They defined who could practice the trade, and who could not, not unlike our present-day labor unions.  In 1563, the Great Statute of Artificers established that the apprenticeship for a joyner would be 7 years.  The Faculty of Joyners and Ceilers or Carvers of London” received its charter in 1570.  Members were expected to adhere to regulations and quality standards, and could be fined for substandard work.

The Joiner I, Denis Diderot, 1751

In general, carpenters were mainly responsible for structural work.  They also made nailed, or “boarded” furniture.  They tended to work on-site.  Joyners, in contrast, joined pieces of wood together, using the mortise and tenon joint as the basis for construction of furniture, wainscoting and other fixed woodwork and paneling.  Much of the joyner’s work was performed in his shop, alone or with 1-2 apprentices.  In England and the early American colonies, the joyners were the true craftsmen of household furniture.  

Come by Pennsbury Manor next Sunday, May 6 from 1:00-4:00 to see our Joyners working in their shop.  Blacksmithing and Sheep-Shearing will also be happening around the site.

 For Further Reading:

Chinnery, Victor  Oak Furniture, The British Tradition (1979)

 Fitzgerald, Oscar  Four Centuries of American Furniture  (1995)

 Humphrey, Nick  Furniture and woodwork in Tudor England:  native practices, methods, materials and context   Furniture, Textiles and Fashion Department, Victoria and Albert Museum, London 


Living the Life of a 17th-Century Farmer

Last weekend, during our annual spring Interpreter training, I shared an amazing  BBC mini-series on 17th-century farm life, and I wanted to make sure everyone else got to hear about it too! 

(I’ve actually already shared it a couple of times on this blog, including a recent article about stuffing straw mattresses.  But this is a tv series any history buff should not miss, so I couldn’t resist re-posting a link!!)

The series, called Tales From the Green Valley, follows 5 historians and archaeologists as they live on a real 17th-century Welsh farm and perform the daily activities required to survive. Unfortunately the series is not available on DVD in US-format, but luckily all 12 episodes are available onDaily Motion:*

http://www.dailymotion.com/video/xqprv1_e1-tales-from-the-green-valley_lifestyle 

These 12 episodes, one for every month of the year, offers a marvelous inside look at the daily lives of Stuart-era English farmers.  They follow the agricultural year and show how much life was influenced by the seasons, in ways that modern society hardly notices anymore. 

Throughout the year, we’ll be sharing more posts on seasonal activities, so stay tuned!

Hannah Howard, Volunteer Coordinator


*No copyright infringement intended, used for purely educational purposes

Exploring the Artifacts: Take Your Mattress and Stuff It!

Those of you that have walked the grounds of Pennsbury may have seen a building called The Worker’s Cottage.  This reconstructed outbuilding’s original purpose or even existence is unknown, but we use it to talk about the laboring class’s lifestyle in early colonial Pennsylvania. Most people did not live as luxuriously as William Penn’s family.  Most homeowners, or people who worked as an apprentice or slave for a homeowner, lived in a 1-2 room house similar to this. 
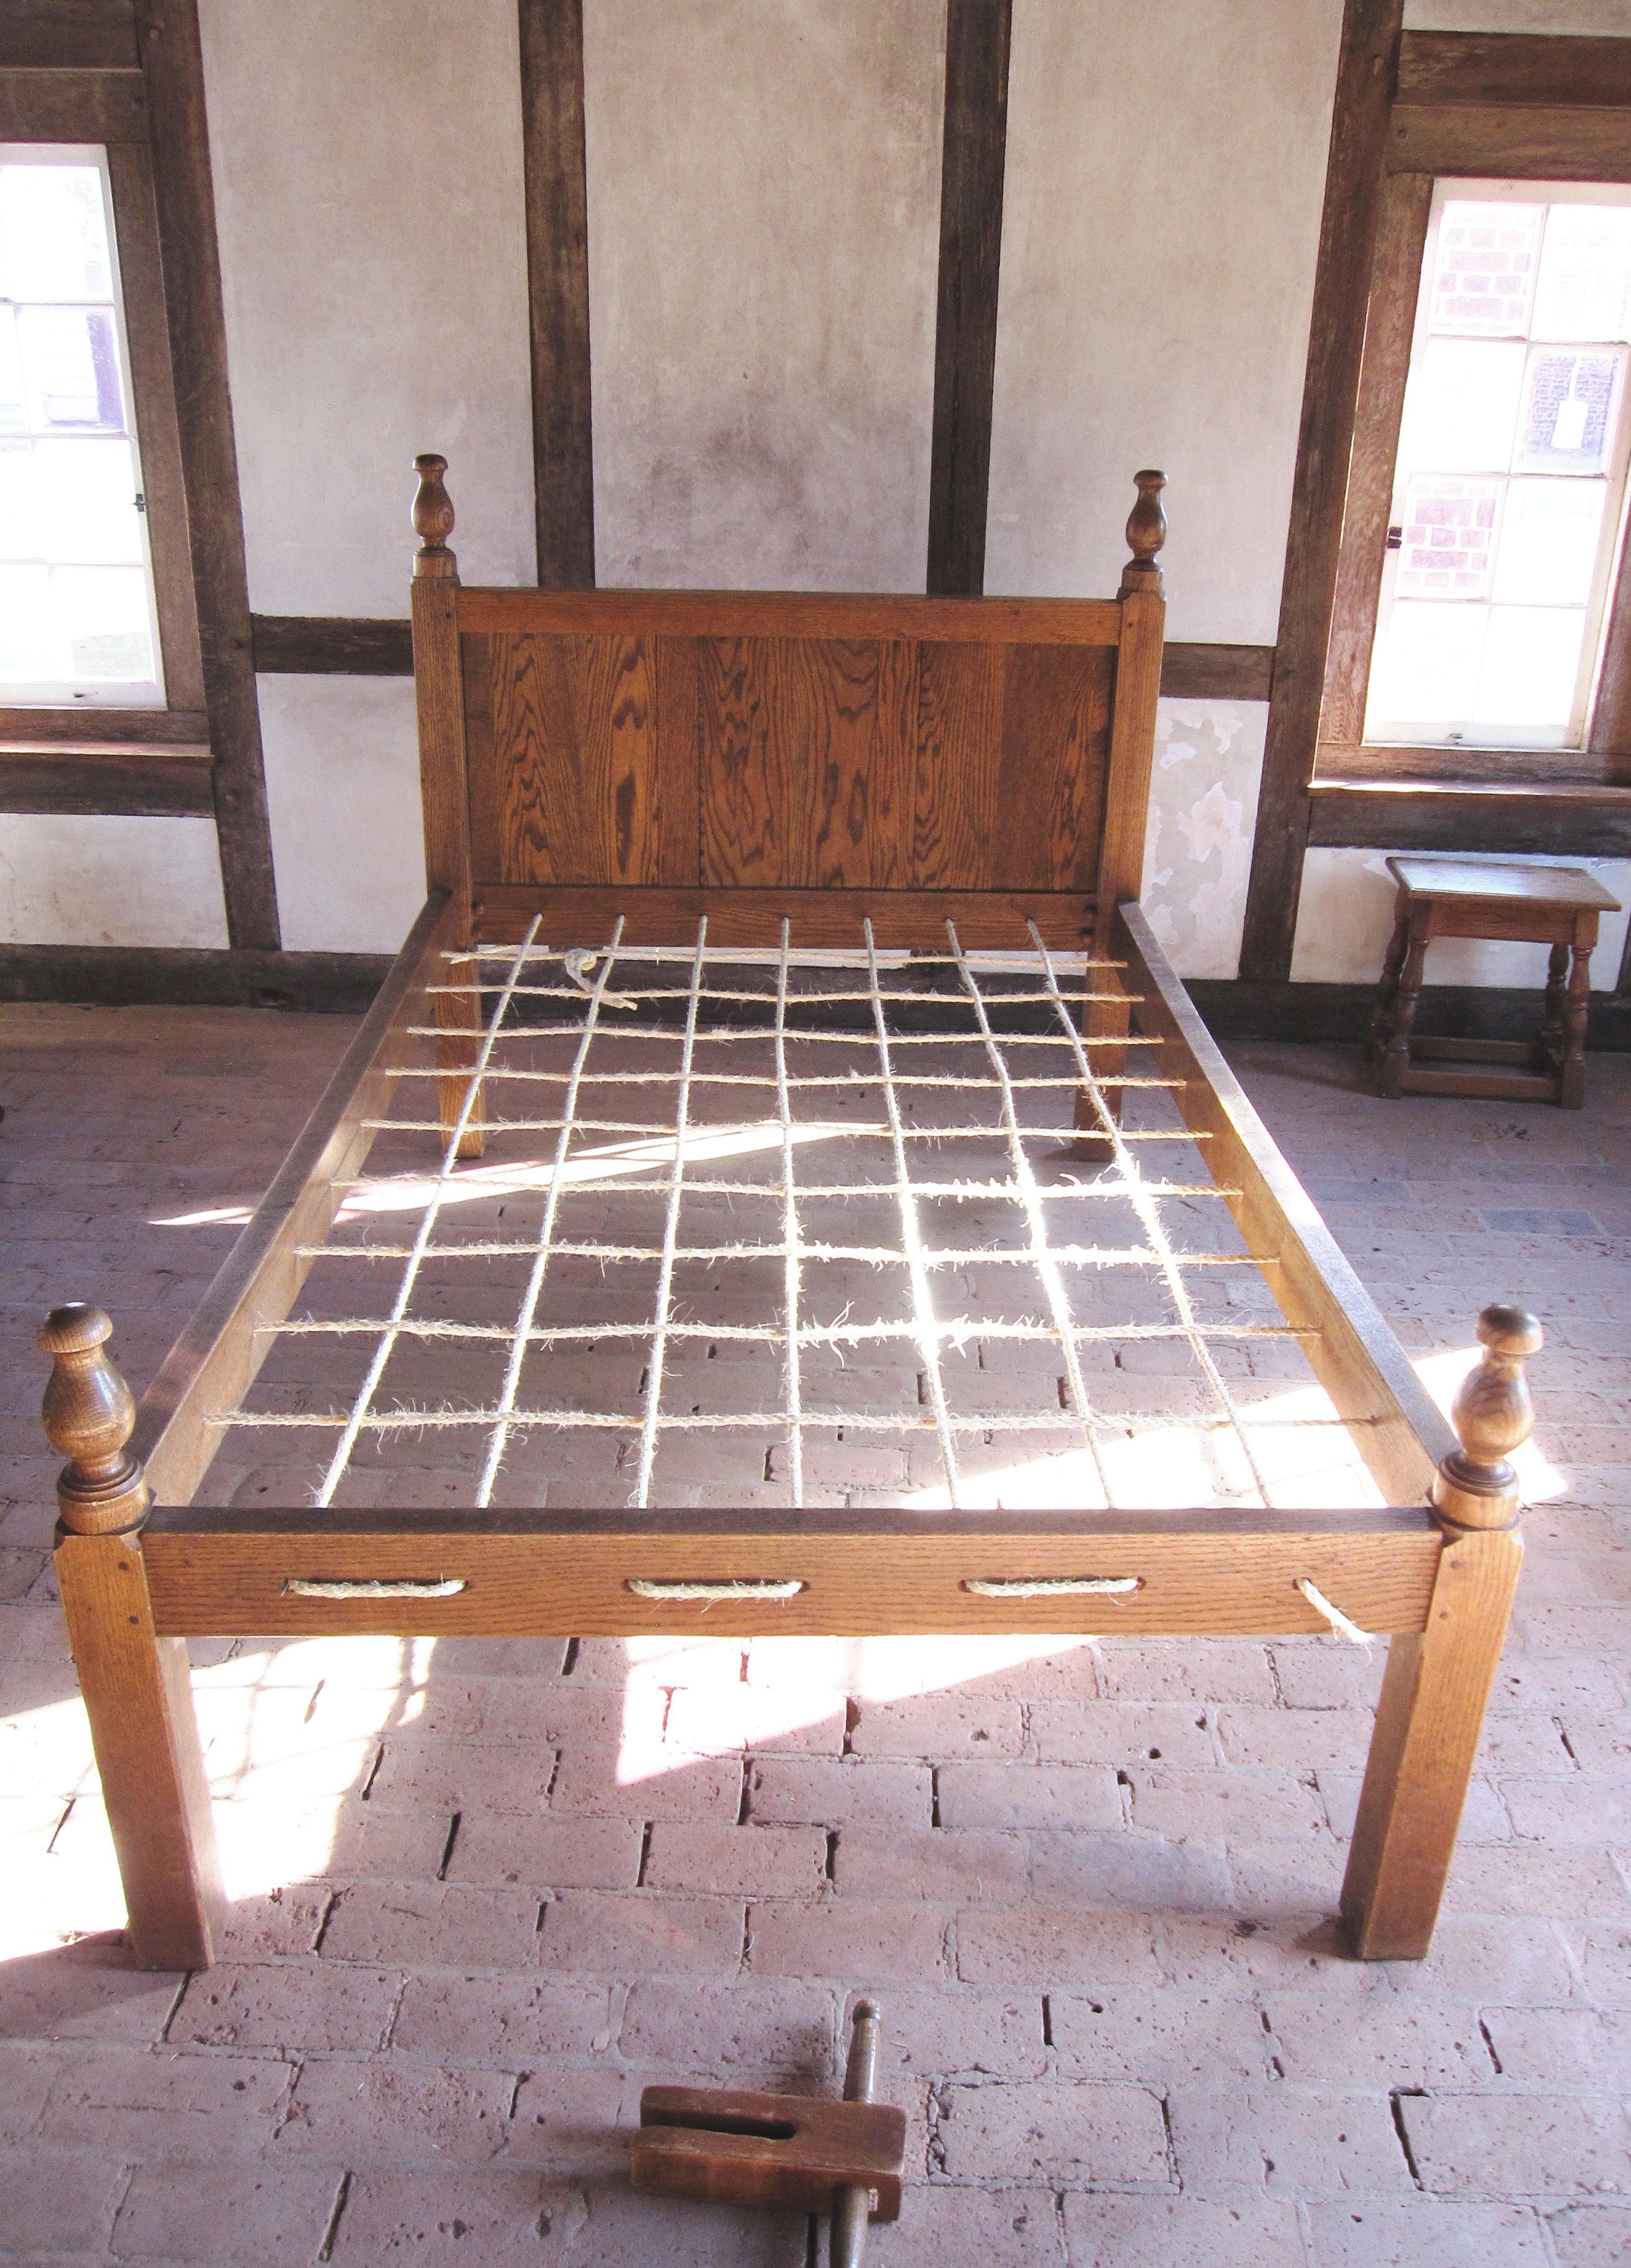
Today we are exploring one of the biggest features in this cottage:  The Bed. This is technically not an artifact, but a reproduction, an exact replica of a historic object.  Reproductions are used in many historic sites to fill the gaps in our artifact collections.  The originals may be hard to find or too delicate to handle with visitors, so reproductions are a nice substitute that interpreters and visitors can interact with!

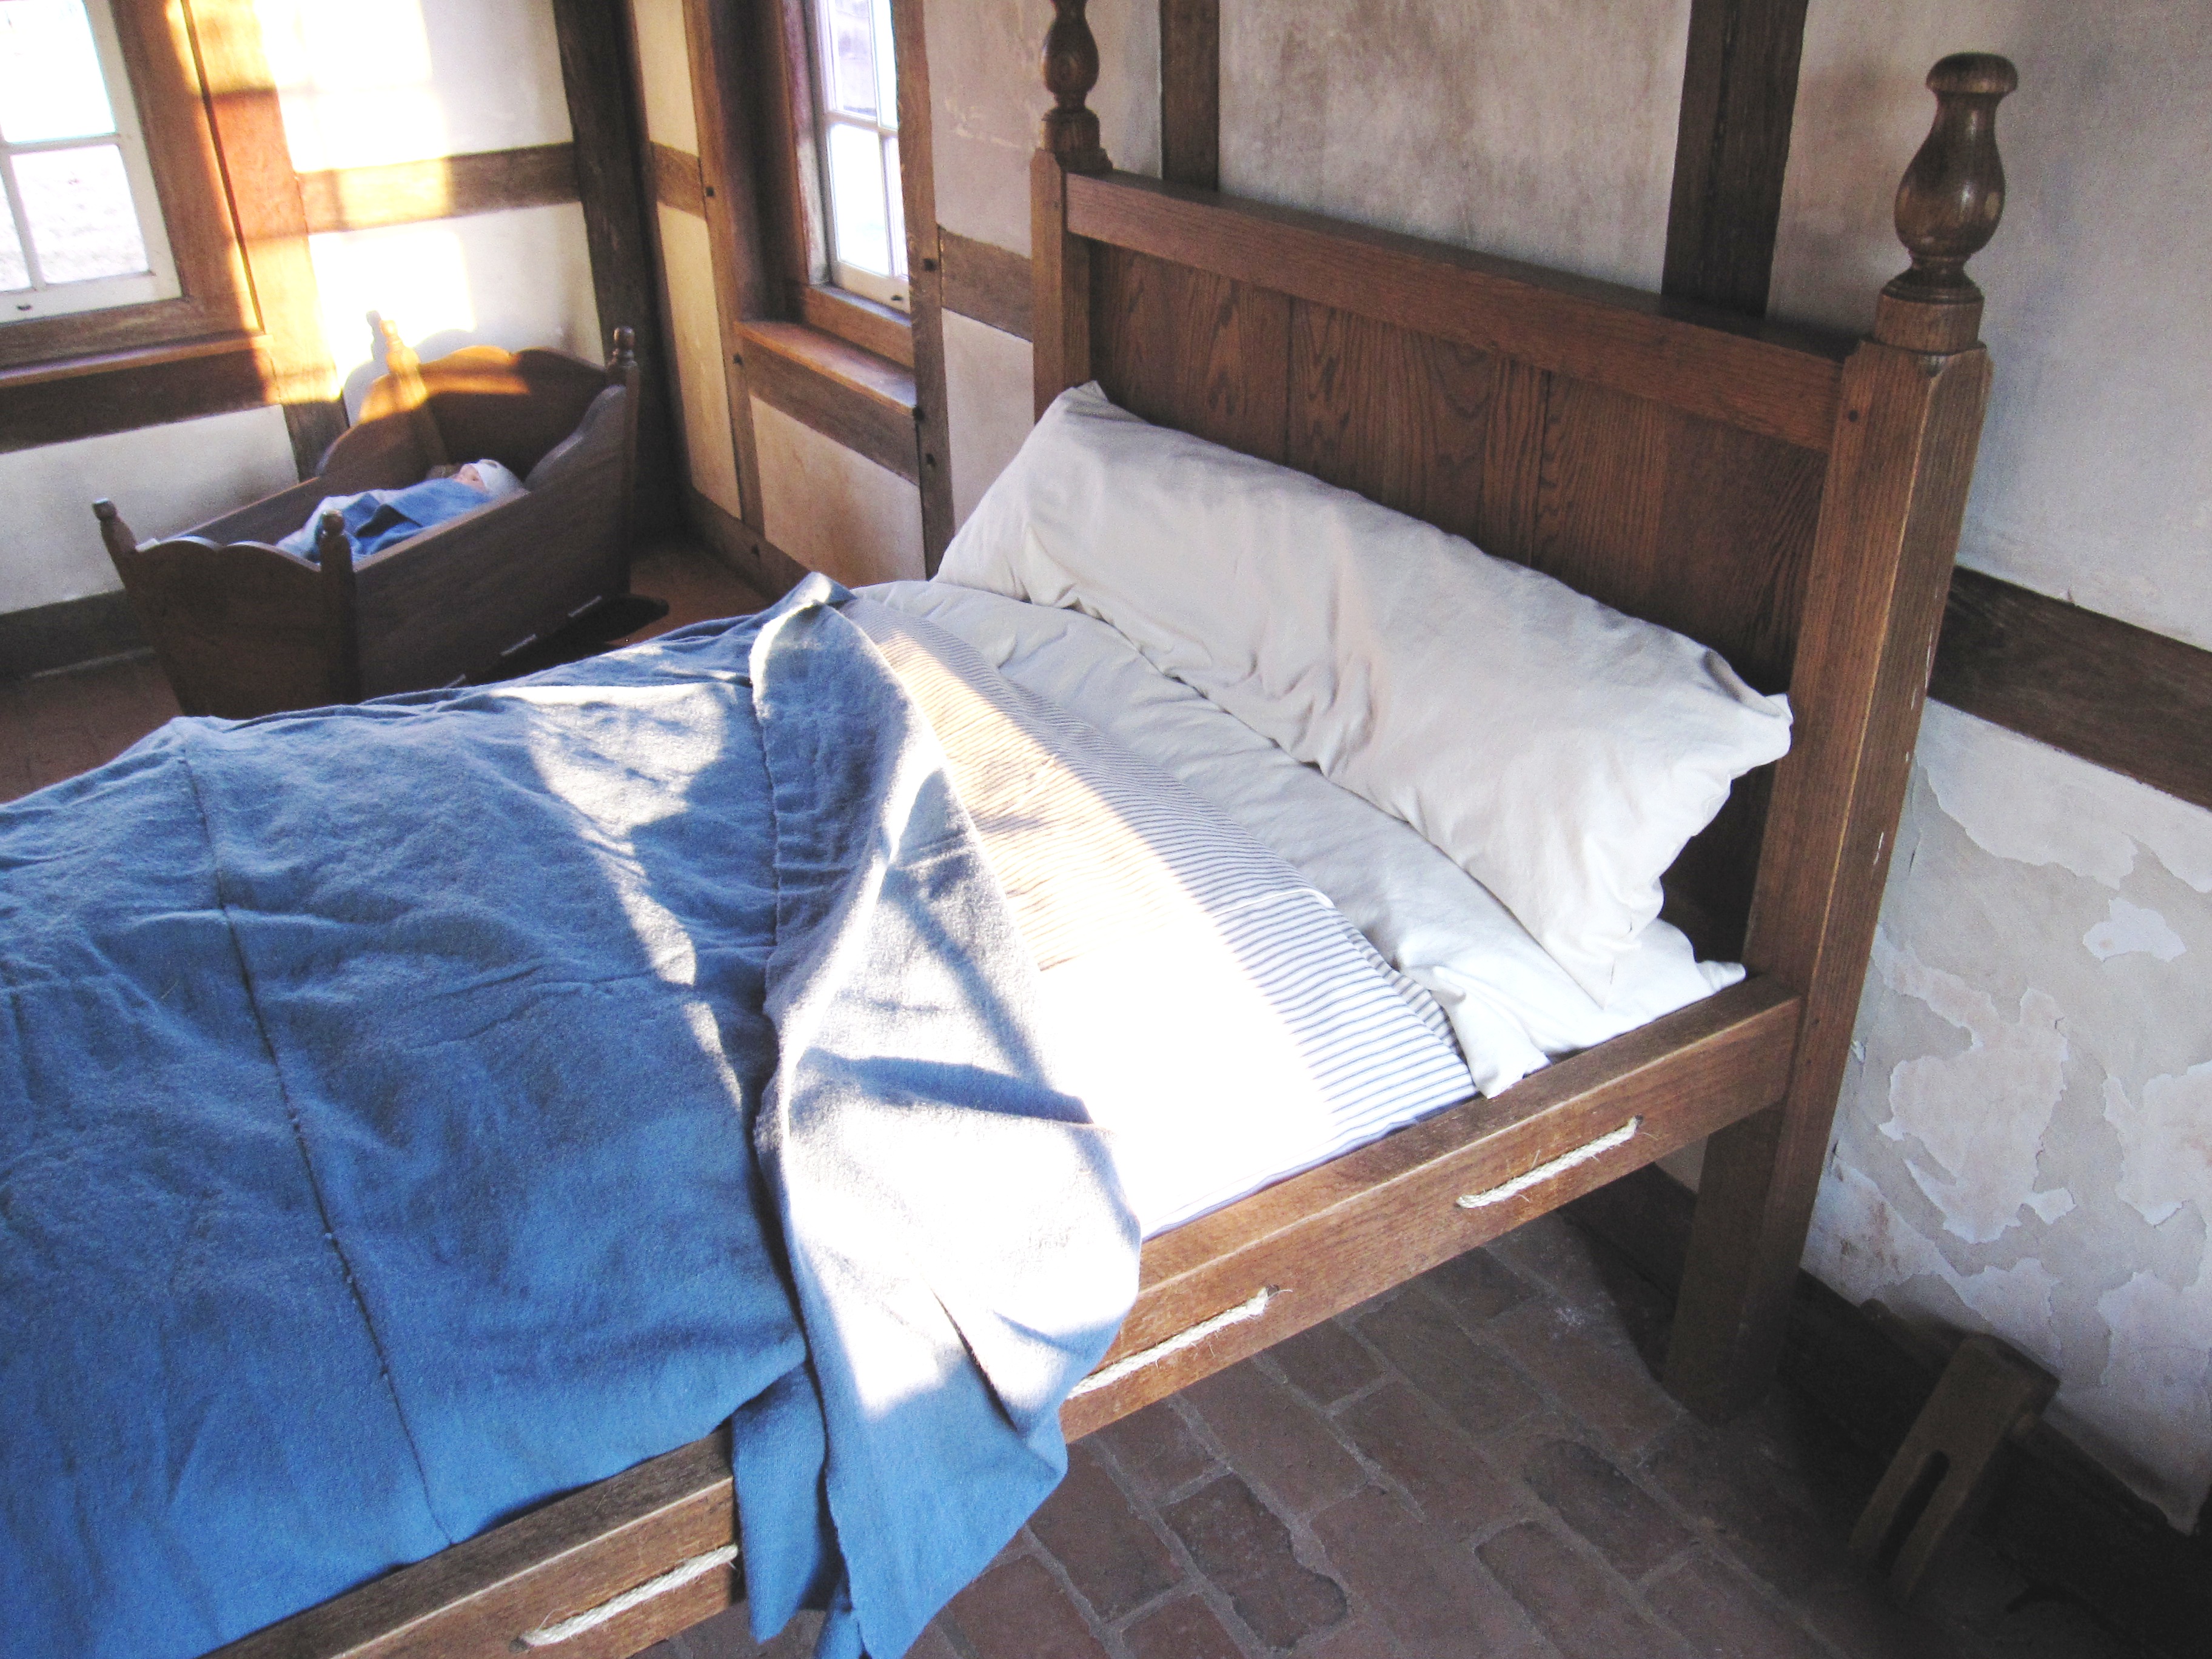
Raised beds would have been a luxury for many families, reserved for the master and mistress of the house. Children, servants, and slaves would have slept on mattresses on the floor.  Our bed is a reproduction that we use to interact with visitors.  But the old roping and mattress were looking extremely worn out from all the fun we’ve been having.  So it was time for a make-over! 

We started with the roped frame, creating an interlocking bottom similar to basket weaving.  The tool pictured here is called a Key, and is used to pull the ropes tight. Stretching the ropes as tight as possible, then tying them off would keep a firm foundation for the mattress.  Still, ropes stretch with use, and would need occasional tightening to ensure the occupants don’t fall through in the middle of the night!

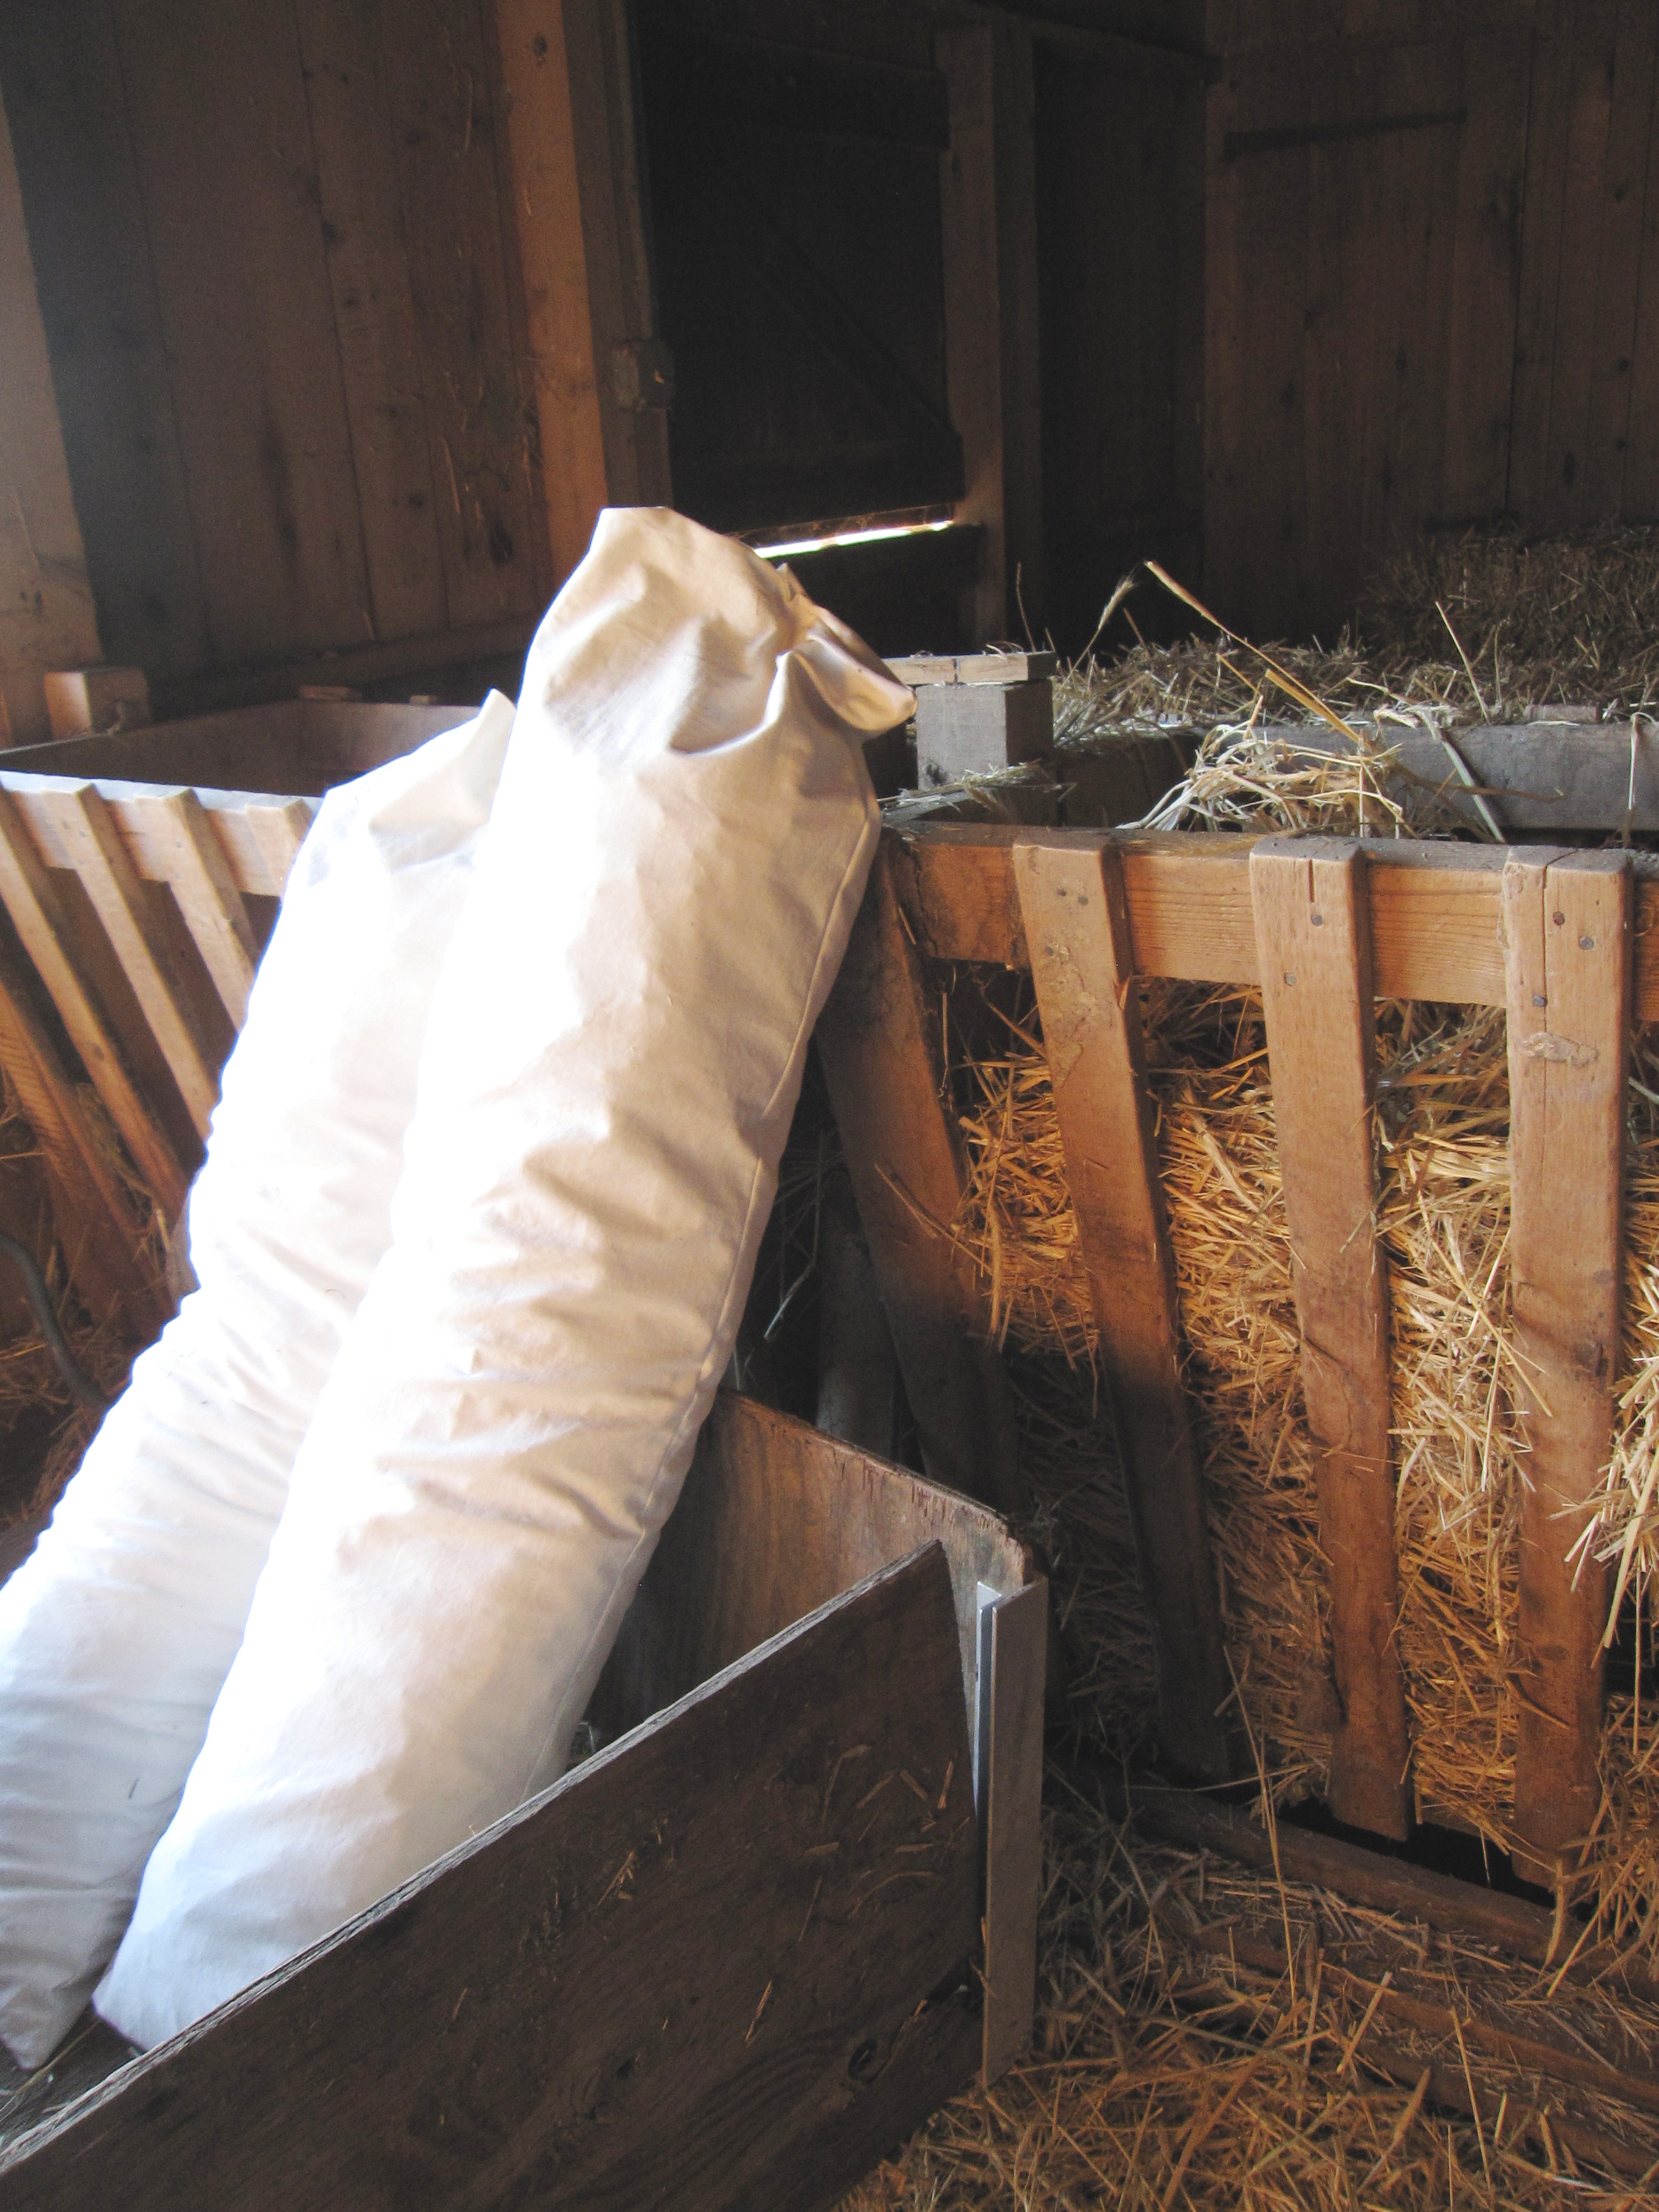
Once the bed is tightly roped, it’s time to add a mattress.  Whenever possible, colonists would use feather down to stuff their bed.  But those without the money or means could always use straw. A sturdy, tightly woven linen ticking (cotton would become more accessible and affordable later in the 18th Century) made a great casing for the straw and prevented any irritating stalks from poking through.  Just like today’s pillows, they were sewn on three sides, flipped inside-out and stuffed fully, then sewn closed.  Over time the straw would break down, so the mattress could be reopened and emptied, then stuffed with new straw. 

To see an example of how to stuff a 17th-century mattress, check out this clip of the BBC series Tales of the Green Valley, which documents a year in the life of a 17th-century farm:http://www.dailymotion.com/video/xqpvax_e8-tales-from-the-green-valley_lifestyle&start=815 .  This is an amazing series which I wish was available to purchase in the US.  However, all the episodes are available on YouTube and I highly encourage you to watch – once I started, I couldn’t stop.

In addition to the mattress, well-stuffed pillows and bed covers are also important.  Many people preferred sleeping propped-up, which explains why some beds may seem short to modern eyes (there was not a big difference in height, contrary to popular myth).  Depending on the weather, you might have many layers of sheets and blankets piled on top.  We have one light blanket of a wonderfully scratchy blue wool, but others could certainly be added.

We are so pleased with the way our 17th-century bed turned out – please check out the finished product below!  Continue reading “Exploring the Artifacts: Take Your Mattress and Stuff It!”

Confessions of a Costumier: Clothing Diversity

It is so easy to get caught up in creating the ULTIMATE historical ensemble.  We worry about perfecting every detail, down to the smallest buttons and buckles. When costumiers get so caught up in recreating one outfit, it’s easy to forget just how diverse the clothing options actually were!  We can’t just recreate one look (as we have done here) and think it will work for all people of all levels in society.  Think about the modern world – we can tell a lot about a person’s job or life based on their clothing.  Business men and women dress differently than artists or plumbers or teachers or politicians or… well, you get the picture. 

So it’s our job as historians to research how those same clothing differences played out 300 years ago.  We are developing job-specific costumes for the staff and volunteer interpreters recreating circa 1700 Pennsbury Manor, and working to increase our clothing collection with enough sizes to outfit everyone in the garments they need.  Over the next few months, I’ll be posting in-depth tutorials for the different ensembles, but in the meantime I wanted to give you a sneak peak at our work…. enjoy!!

LEFT TO RIGHT: Gardener/Stablehand (Summer); Basic Tradesmen/Estate Worker or Gardener/Stablehand (Winter); Supervising Tradesmen or Estate Caretakers/Visiting Businessmen
LEFT TO RIGHT: Gardener/Stablehand/Cook (Extreme Heat Only - Otherwise with Short Gown worn also); Basic Craftswomen/Estate Workers; House Caretakers/Visiting Women

by Hannah Howard, Volunteer Coordinator

“It’s made of WHAT?”: Making 17th-Century Soap

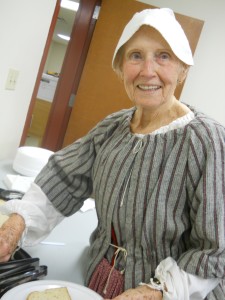
Back in August, recently retired volunteer Penny held a workshop to talk about her favorite hobby: making soap!  Penny has been a volunteer at Pennsbury Manor since 1982 – wow!  She retired after almost 30 years of soap-making demonstrations, but graciously agreed to provide a soap-making workshop for her fellow volunteers and teach us about her techniques. 

To provide a little background information, soap was a necessary all-purpose supply to keep in any 17th-century home.  You used the same basic lye soap to wash yourself, your dishes, and your laundry.  Alum could be mixed to make a specialty soap for removing laundry stains.  Herbs like lavender and lemon balm could also be added for scent.  Early Pennsylvanians could have purchased soap at the markets in Philadelphia (or Burlington, NJ which was just down the river from Pennsbury!).  But if you had the time, making your own soap would be a good way to save some money. 

It was made of two basic ingredients: tallow and lye.  Both ingredients were easy to come by – tallow, or rendered animal fat, was regularly available from the kitchen.  Penny taught us a modified version of the original Lye Soap process, which I’m happy to share with you now! **Click on images to enlarge**

Penny’s Castile Soap

1.  Prepare the Suet

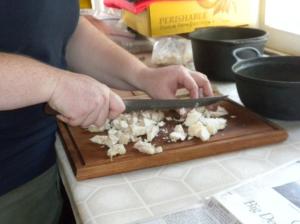
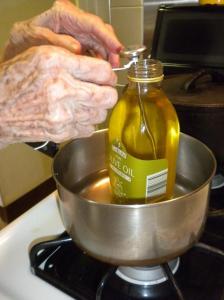
Tallow is made by rendering (melting) animal fat, otherwise known as “suet.” Penny recommends beef suet from around the kidneys, but other animal fats can also work. This would have been easy enough to acquire in the 17th Century, but in the modern world the best place to find suet is your local meat shop. This includes grocery store meat departments.  To melt the suet, cut it into small pieces and place in cast-iron pot.  I recommend you start with rendering about 1 lb. of suet, as you need 28 oz. of tallow for Penny’s recipe. 

2. Render the Suet
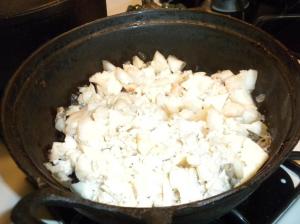
Add 2-4 inches of water and 2 Tbsp. salt to the suet and place pot  on stove-top (or fire if you’re doing this at a historic site). Slowly bring to a boil – you don’t want to heat the pot too fast, or the suet will burn.  Allow the tallow to melt off, then remove from the heat.

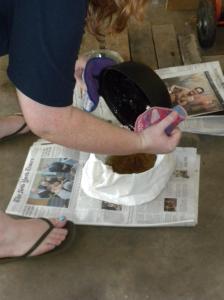
Place a larger clean pot on the ground and drape cheesecloth or piece of linen across the top.  We learned that this works best if the cloth is strapped to the sides with some twine or rope.  If working inside, cover the floor with washable cloth or newspapers to prevent any mess or damage. 
Then take the pot of melted suet and pour onto cheesecloth. Allow to drain for several minutes, shifting mixture and even squeezing the cloth so all usable fat seeps through. Then remove the cheesecloth and toss the sifted mixture.  Congratulations, you now have tallow!  Now leave it to cool to 95°-100° F. 

3.  Making Lye: A Shortcut
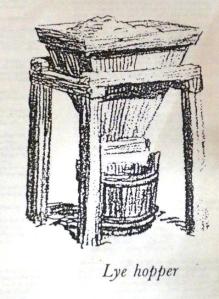
Penny strongly recommends a shortcut for making lye water, as the 17th-century method is time-consuming and messy. However, if you’re a stickler for authenticity (which we applaud!) and want to go through the original process, you will need to find/create a Leeching Barrel, like the ones you see here (engraving from unknown source).  

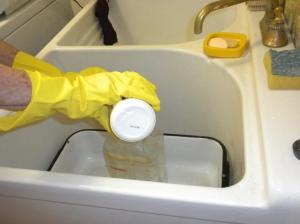
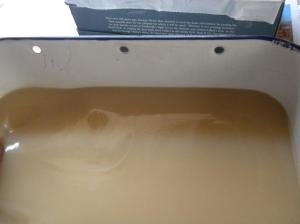
The leeching barrel would be prepared with layers of straw and ash from the fireplace.  By pouring boiling water into the barrel, the lye chemical would be stripped from the ashes and combine with the water, which would drip down into the pot at the bottom. But if you’d prefer to skip this process, Penny picked up some Lye Crystals at her local grocery store.  The directions should be provided for specific measurements of hot water and crystals.  But first make sure you have the right equipment: rubber gloves, wooden spoon, pitcher that can withstand 200° F, and large pot/bowl/container.  Follow the instructions, allowing the crystals to dissolve fully and then leaving the mixture to cool to 100°. 

 4.  Mixing the Soap

Heat 20 oz. olive oil and 16 oz. coconut oil to 95° F.  Measure out 28 oz. of the tallow, which should now be the same temperature (if you are short, then repeat steps 1-2 until you have rendered enough tallow). 

Combine oils in large pot, then SLOWLY pour lye water into the fats, stirring constantly but gently.  The mixture will slowly become the consistency of applesauce.  Depending on the tallow used, this could take anywhere from 15 minutes up to an hour. 

 5. Molding the Soap
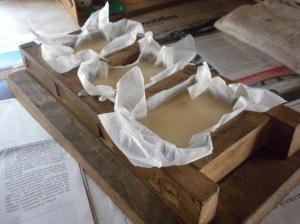
Gently pour or ladle mixture into mold(s).  

You can use any size square or rectangular mold you want.  To make an easy mold, find a wooden box (or shoe boxes work great) and line with linen or wax paper to prevent leaks.  Depending on the weather and where the molds sit, soap could take a couple days or a week to harden.  Warm weather will keep it slightly soft. 

 6. Milled Soap (optional)
To make a more refined soap, you could mill (shave) the hardened soap and remelt and mold.  Modern soap-makers often mill their specialty soaps and add in additional scented oils, herbs, and coloring. 

**Caution, use fresh soap rather than old, hardened pieces – it won’t melt or dye properly and you could have a crazy time trying to make it behave!!** 

Thanks again to Penny for her outstanding dedication to Pennsbury’s visitor programs and volunteer education!!

By Hannah Howard, Volunteer Coordinator


Skip to content